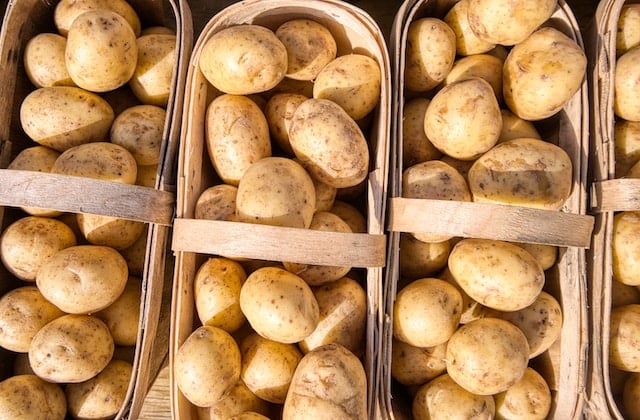
The most versatile staple in any kitchen, these humble tubers are something I always like to have on hand for some quick and easy meals.
But if you want to make sure your spuds stay fresh and flavourful for as long as possible, proper storage is key.
We know there’s worse than having to throw away perfectly good fresh produce that’s gone bad. So, here are my simple tips for storing potatoes so they last for months.
Image via Unsplash

How to store potatoes
First and foremost, start by sorting your potatoes.
Pick out the damaged ones – look for any that are bruised, shrivelled, greening or sprouting, or have soft and black parts. Damaged postoes release glycoalkaloids and other natural toxins, which cause other healthy potatoes to rot.
The best place to store your potatoes is in a cool, dark place like the pantry, or any area that is dry and well-ventilated. Sunlight will activate potatoes’ chlorophyll production, which causes them to turn green.
Ideally, you want to store them a little below room temperature, which is cool enough to slow down sprouting and prevent decay, but not so cold that the starches turn to sugar and make the potatoes taste sweet.
Another thing to keep in mind is that potatoes and onions are not friends.
While these two ingredients might seem like a natural pairing in many dishes, storing them together can actually cause them both to spoil more quickly due to the release of ethylene gas.
When it comes to storing your potatoes, you have a few options to help extend their life.
You can keep them loose in a box or bowl in the pantry, or store them in a paper or cloth bag to allow for air circulation – it’s best to avoid plastic bags, as they can trap moisture and cause potatoes to spoil faster. Or you can store them in a basket or crate with plenty of ventilation.
Whatever you choose, just make sure the potatoes are not crowded together, as this can lead to moisture buildup and spoilage.
The aim here is to keep those spuds lasting for months.
Saving potatoes that have sprouted
And if the potatoes have gone to sprout, you can actually plant them the grow new ones! The eyes will eventually sprout into new potato plants.
- Start with a potato that has “eyes” or small indentations on the surface.
- Cut the potato into sections, making sure each section has at least one eye.
- Allow the sections to dry out for a day or two, which will help prevent rotting when planted.
- Next, choose a sunny spot in your garden. If you don’t have a garden bed, a large pot or container or even a bag of soil will work.
Potatoes need plenty of sunlight and well-draining soil to grow properly. Plant the potato sections in the soil with the eyes facing up, about 4-6 inches deep and 12-15 inches apart. Cover the sections with soil and water them thoroughly.
As the potato plants begin to grow, you’ll need to fill them, which means mounding soil around the base of the plant to protect the developing potatoes from sunlight. This helps prevent them from turning green, which can make them bitter.
After a few months, the potato plants will begin to flower, indicating that new potatoes are forming underground. Once the plants begin to die back, it’s time to harvest the potatoes. Gently dig them up with a fork, being careful not to damage them.
If you want to see how it’s done, I shared my potato-growing experiment here on Instagram.


