“Keep close to nature’s heart… and break clear away, once in awhile, and climb a mountain or spend a week in the woods. Wash your spirit clean.” – John Muir
If you’re anything like me, you’ll see a movie like “Into The Wild” and immediately start plotting your next wilderness escape… just to a lesser extreme (I like my life enough that I don’t really want to abandon it for the wild west of Alaska).
As part of my own desires for this year to see more of Australia’s vast and varied backyard, I made it my mission to head south for the Winter to conquer one of the world’s most famed multi-day hikes – The Overland Track. Because I’m always up for a good challenge and walk in the woods. Especially when there’s a chance for snow!
Home to some of the world’s cleanest air, purest waters and pristine wilderness, Tasmania is a real treat for an adventurist and nature lover like me. Even for those slightly less adventure inclined, to really grasp the wild beauty of Tasmania, and appreciate just how lucky we are to have this tiny island on our doorstep, one should make some effort to step just a little off the beaten-path to a slightly less beaten-path.
I can’t recommend the Overland Track enough for the sole reason to get a fully immersive ‘Into The Wild’ experience without fearing a ferocious grizzly bear dragging you off into the night (although one must still be cautious of those drop bears).
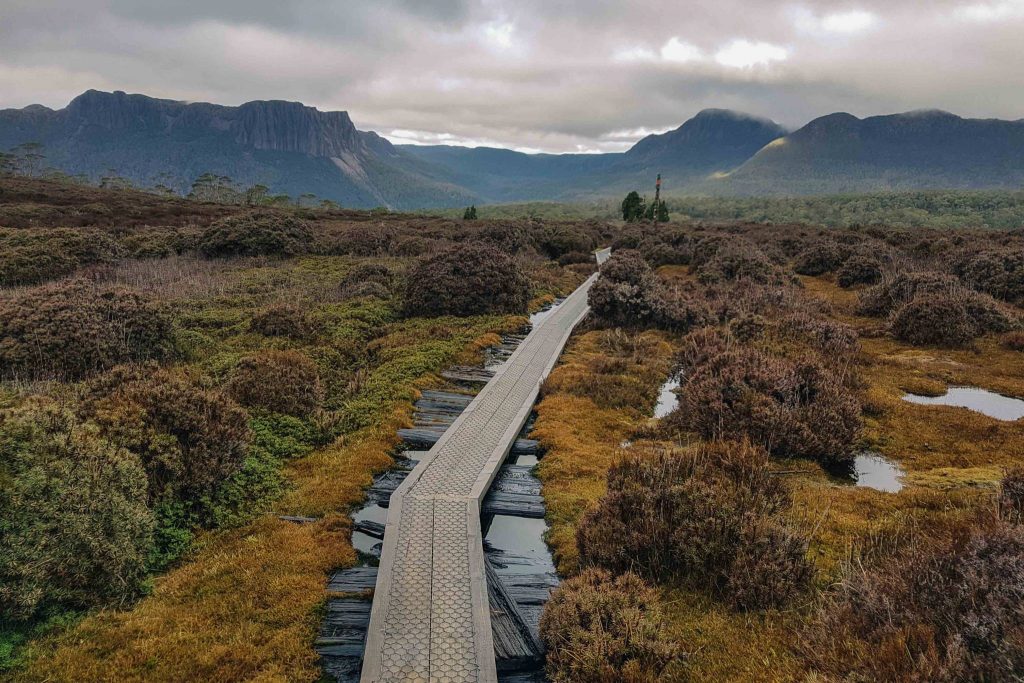
While I had heard tales from the track about the arduous ups and downs, the dodging of thousands of exposed tree roots residing on the path and the endless puddles that will leave even the highest quality hiking boots soaked through, I really had no idea what to expect until I hit the trail myself. After all, I’m a ‘firsthand’ experience kinda gal.
Multi-day hiking isn’t new to me, but the fully self-sufficient and wild weather experience was. But it was walking through these challenges which provided me the greatest satisfaction at the end of the day. It’s a wonder to think only a few thousand people experience the sheer beauty of such a treasured place each year. And an even greater wonder to me is to think how rare it is these days to be completed disconnected from technology, but tuned into nature, for a whole week and what wonder it does to sooth the soul.
I think we all need more of this…
Overview Of The Overland Track
The Overland Track is nestled in the Cradle Mountain – Lake St Clair National Park in Tasmania. While it’s a 65km one way walk, as the name suggests, starting from Cradle Mountain and ending at the Lake St Clair/Cynthia Bay Visitor Centre, there’s a number of additional side walks one can add on along the way to extend the sightseeing and accumulate the kilometres walked. My 2 fellow companions and I managed to rack up 100km in all which included a summit to Tasmania’s highest peak, Mt Ossa, at 1617m in elevation.
During the peak season (1 October – 31 May), you are required to register and pay a $200 fee (as of 2017/18) to access the trail. This is to cap the number of walkers entering the trail each day to prevent overcrowding and reduce our environmental impact. In my opinion, this is a smart move. As far as eco-tourism goes, these are the kind of limitations we need to set in places like this to preserve the whole experience. In addition, you’re also required to pay for your Tasmanian National Parks Pass (rates vary based on vehicle and time) which is a default requirement if you wish to access any of the national parks. More information about booking and rates can be found here.
During the peak season, the trail can only be walked from North to South. While it’s a hut to hut walk, there is no guarantee of being treated to a hard wooden bunk bed space to lay out your sleeping mat of a night. For this reason, and for the sake of an emergency where weather conditions can easily catch you off guard and disrupt your plans, you must come carry your own tent.
On the other hand, during the off season (1 June – 30 September) you may choose to walk the path in either direction and you don’t have to pay the trail fee (although you must still have a National Parks Pass). Less people walk the trail during these months (for good reason which I’ll get to soon) and there are no rangers patrolling the track to lend a helping hand if need be.
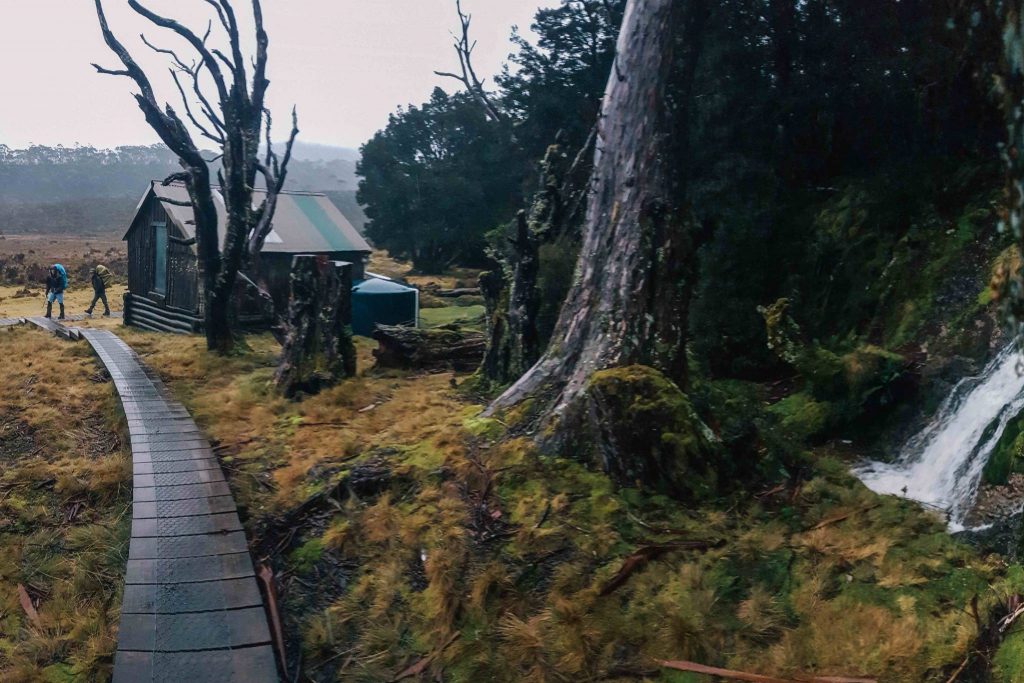
This naturally has it’s pros and cons. I loved the fact that at times it felt like we were the only people on the trail. There was space for us to sleep in the huts each night (there’s still no guarantee of a bed so it’s still necessary to carry your own tent).
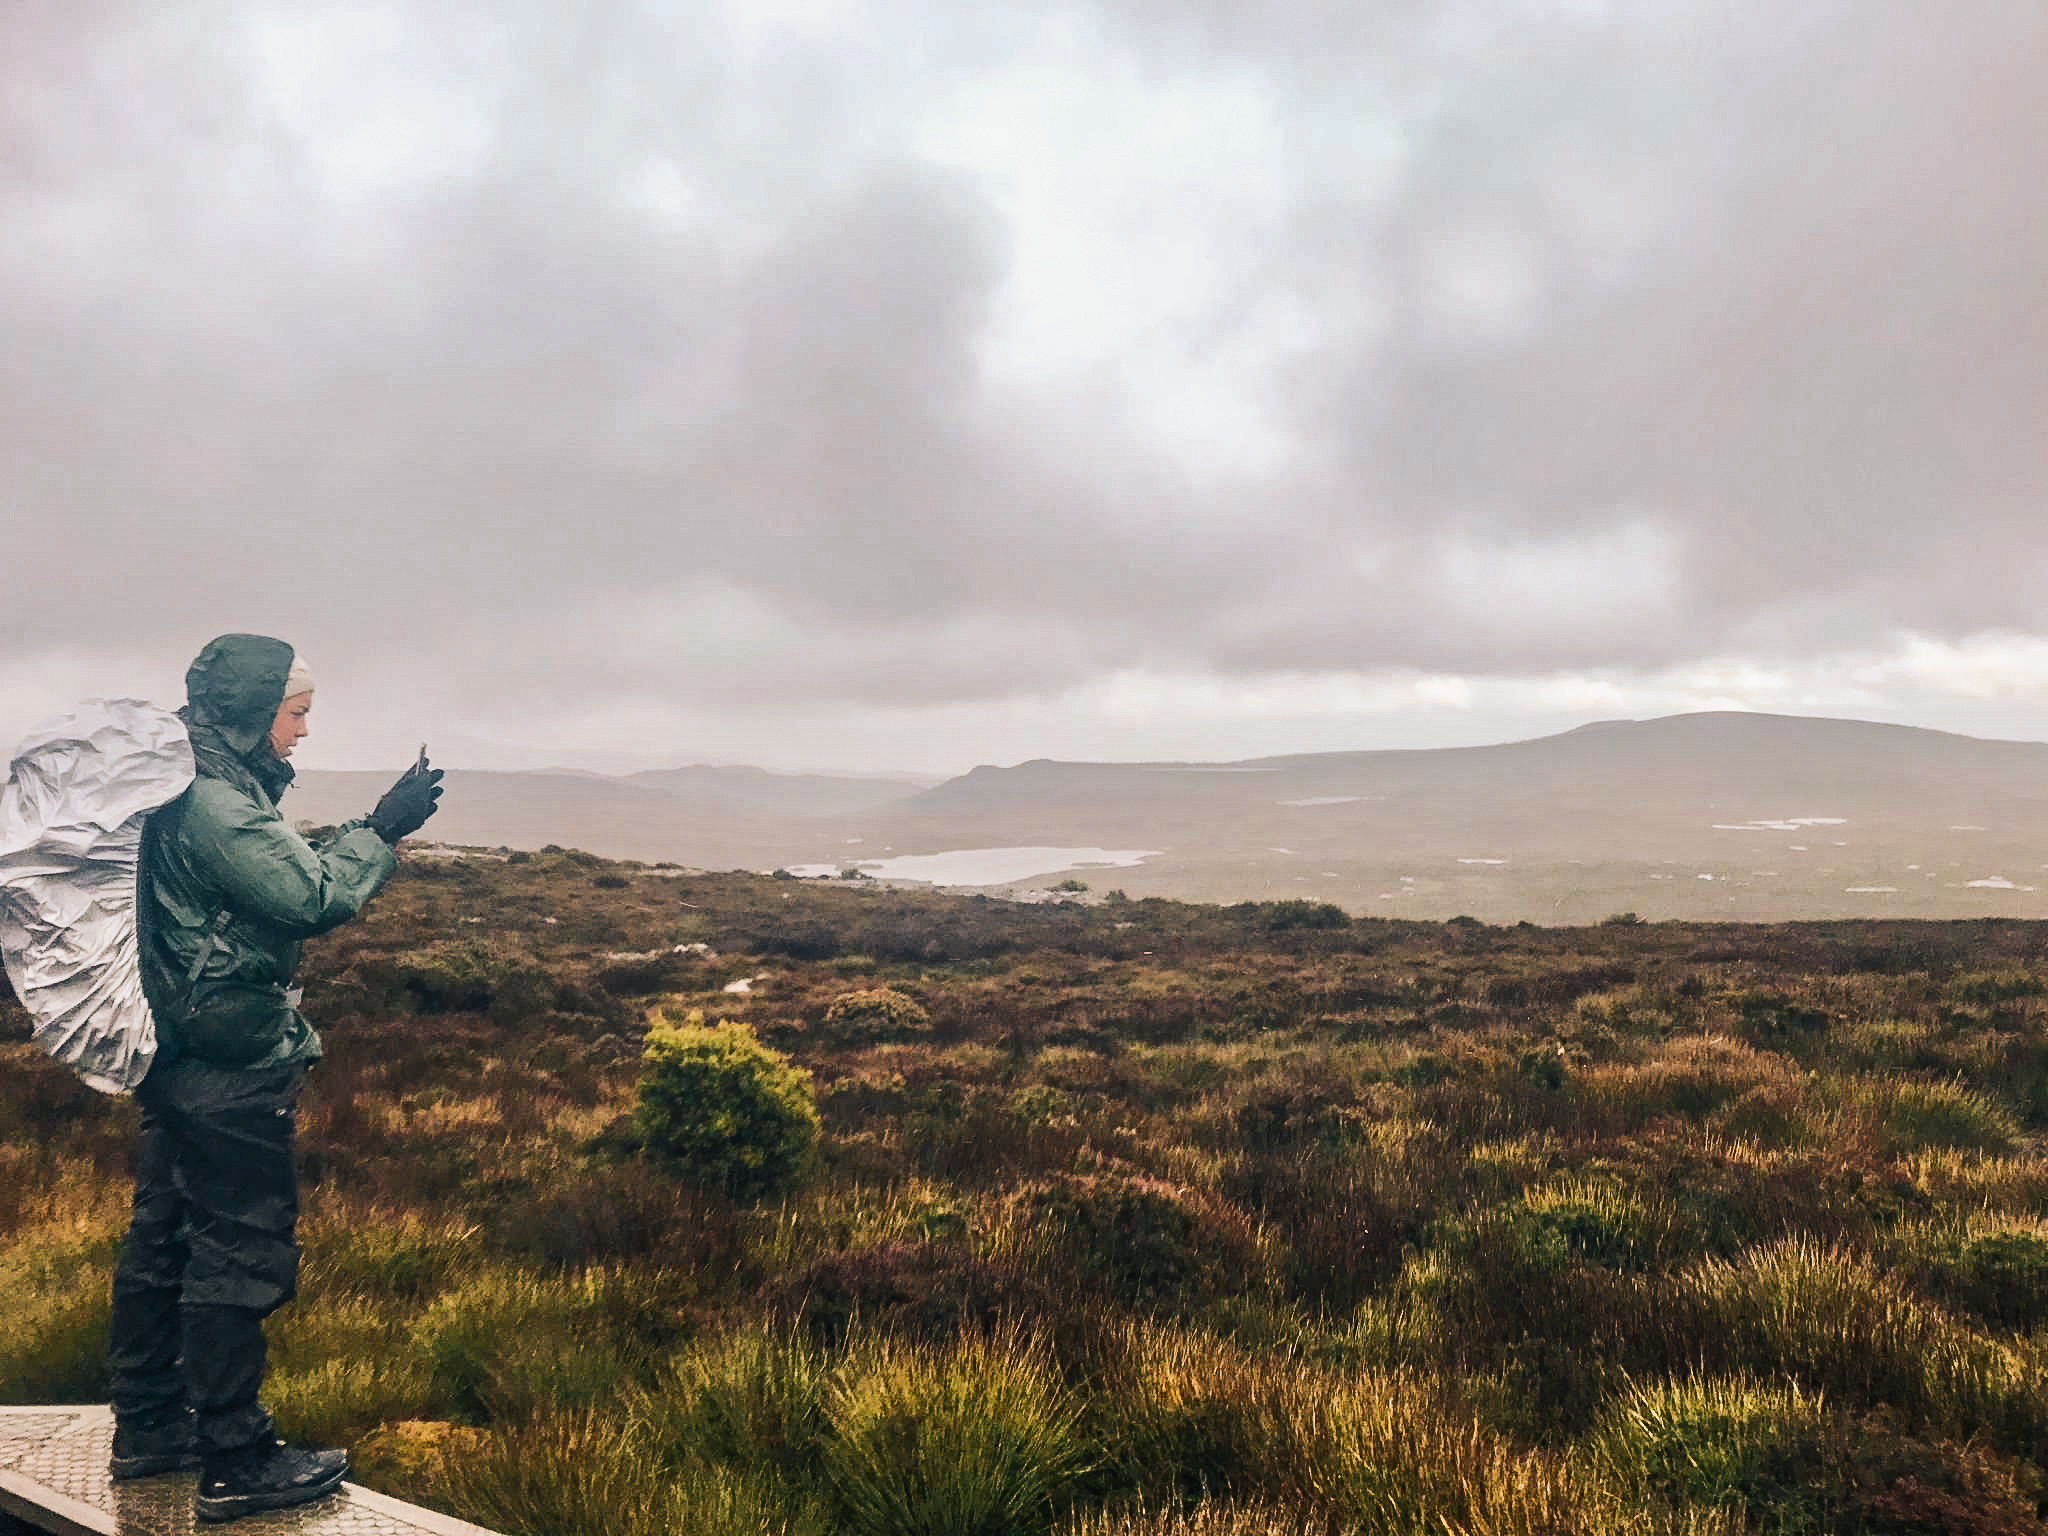
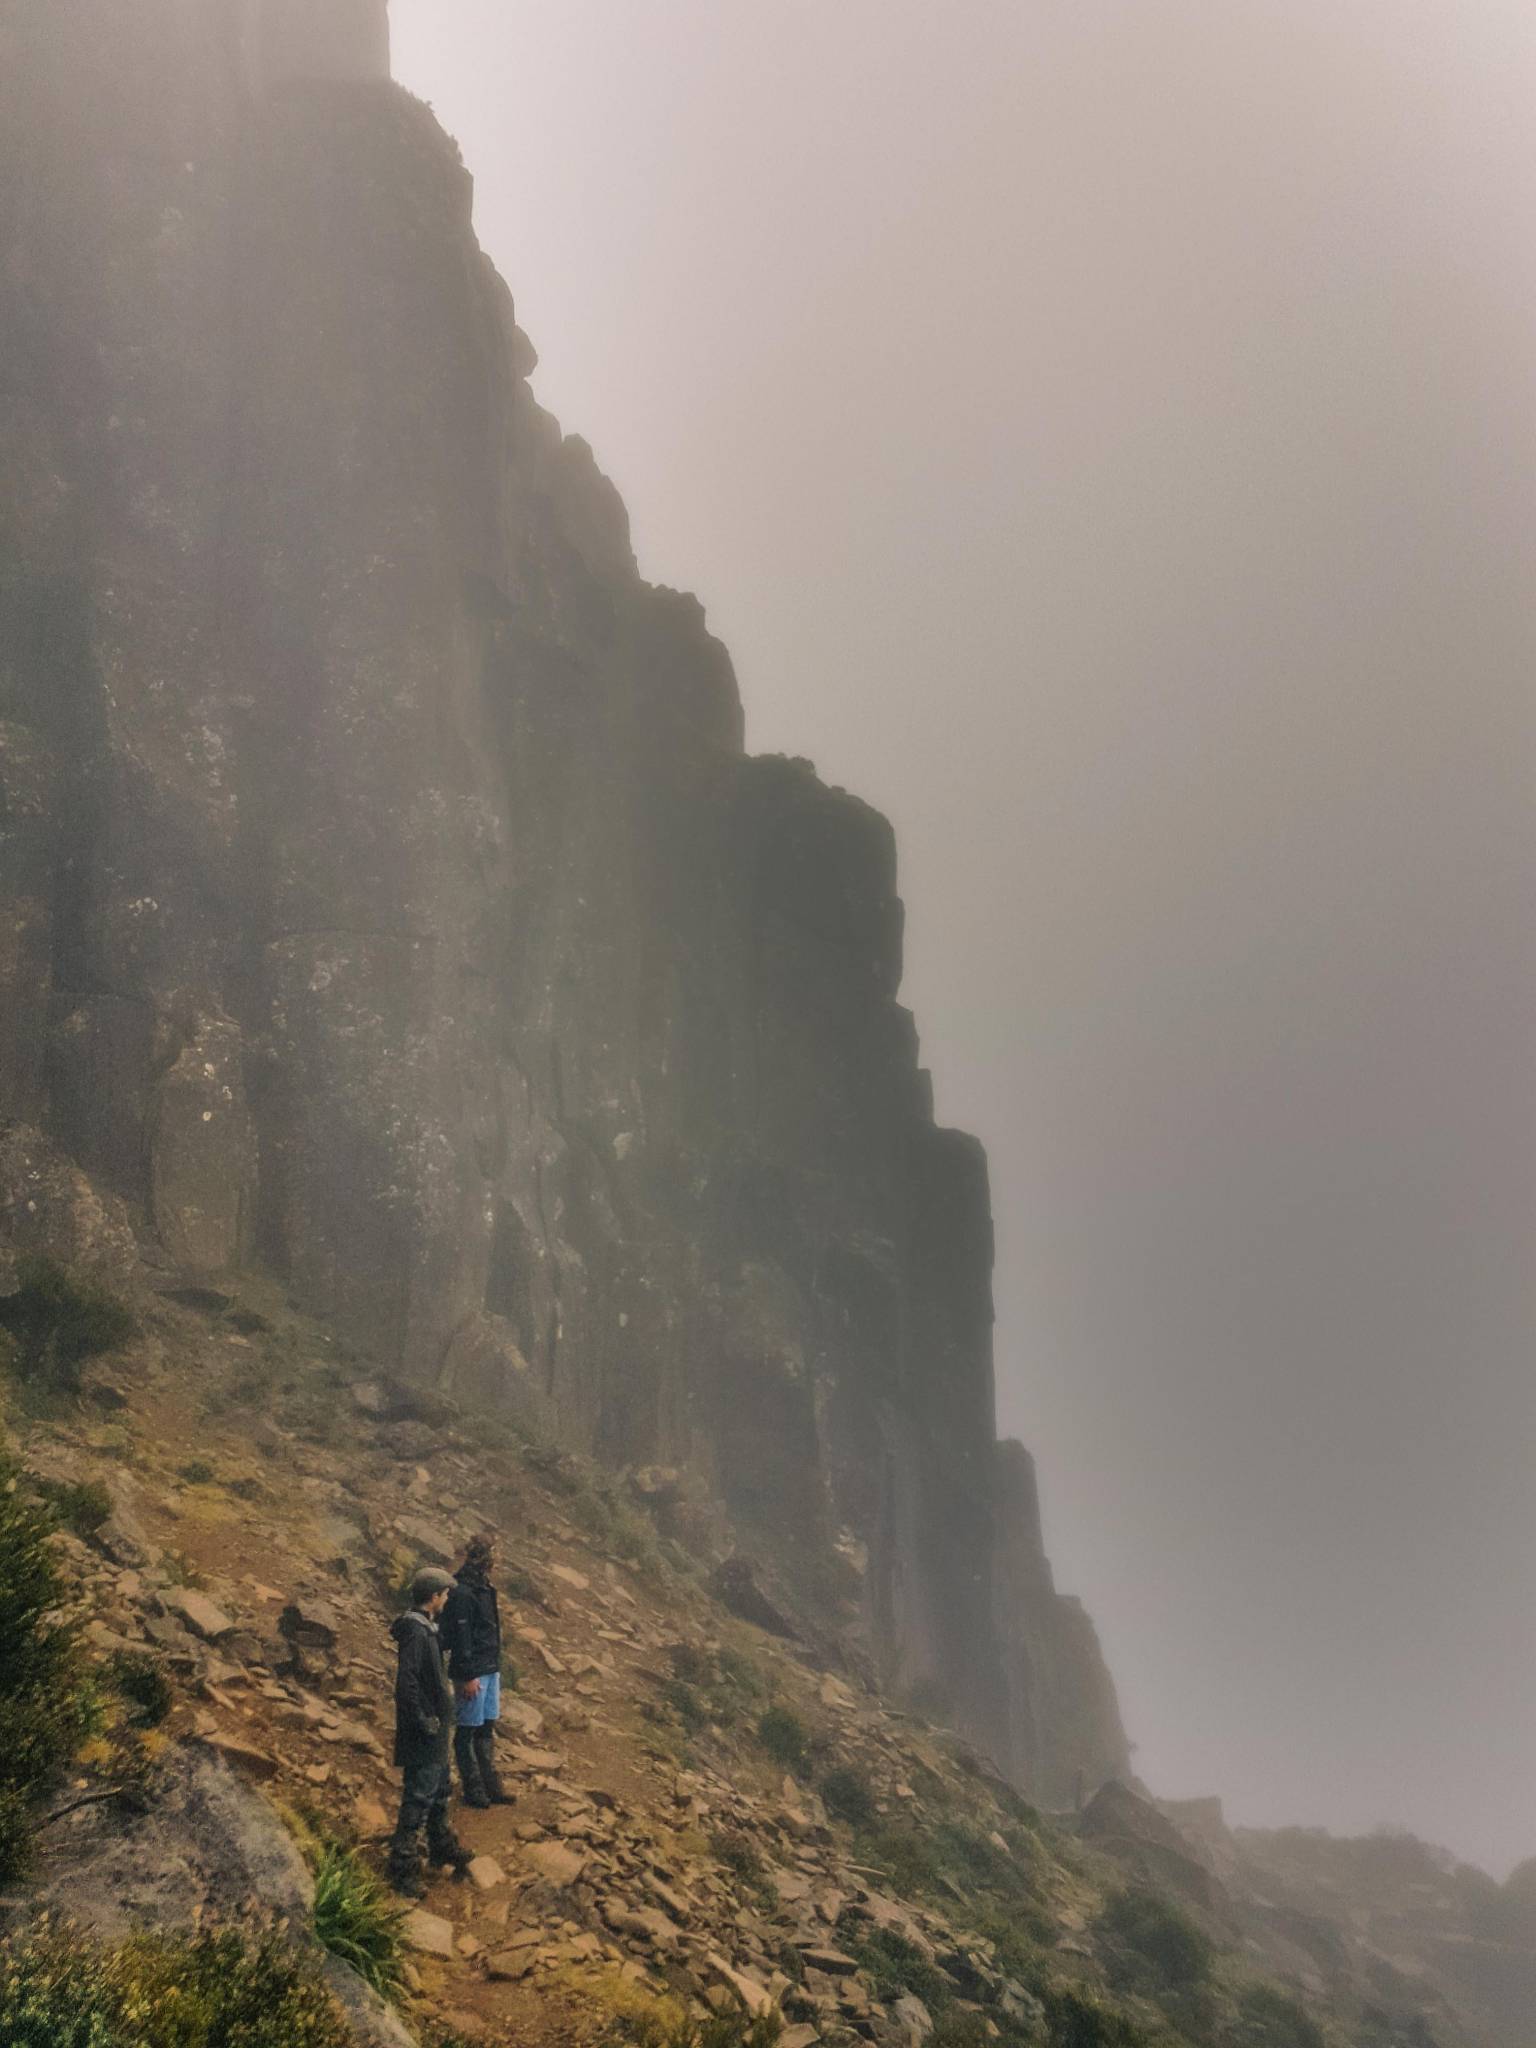
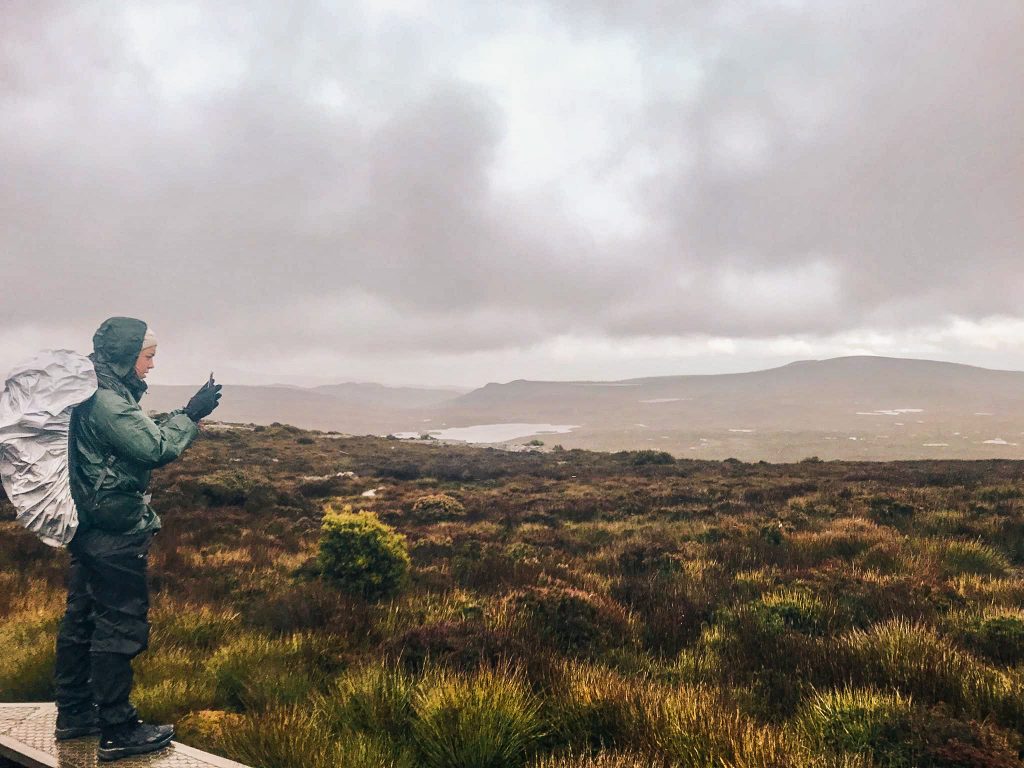
The obvious downside being the colder temperatures and the tumultuous weather (there is never a guarantee for ‘perfect’ weather at any time of the year in Tasmania – I’ve heard it has snowed on the mountains mid-summer!) We scored a perfect 6/6 days on the trail for rain. Even this was not enough to get me down. By simply looking up and around (something that’s harder to do than say with the amount of roots, rocks and puddles laid out before you), you can appreciate the silver lining of the beautiful landscapes, even if the mountains were sometimes shrouded.
Transport To & From
One of the biggest challenges of the hike isn’t actually the hike itself. It’s how you organise to get yourself there in the first place! The public transport options to and from the start and end of the trail are few and far between, often requiring an overnight stop in Hobart, Launceston or Queenstown to get you back to where you started.
Tassielink offers irregular services but these can be tricky to time as you never know how you’ll go on the trail. It’s not uncommon for plans to change out there! Other options include arranging a private transfer from either Hobart or Launceston via the many private shuttle companies (although quite pricey, it offers the most flexibility). We were fortunate to be able to leave my car at Lake St Clair and hitch a ride with some friends to Cradle Mountain (one whom joined the hike at a last minute’s notice!) This gave me the peace of mind knowing I didn’t have to fret about getting stuck out there for an extra night if the case arose.
Now onto the recap of how I spent my time on the trail!
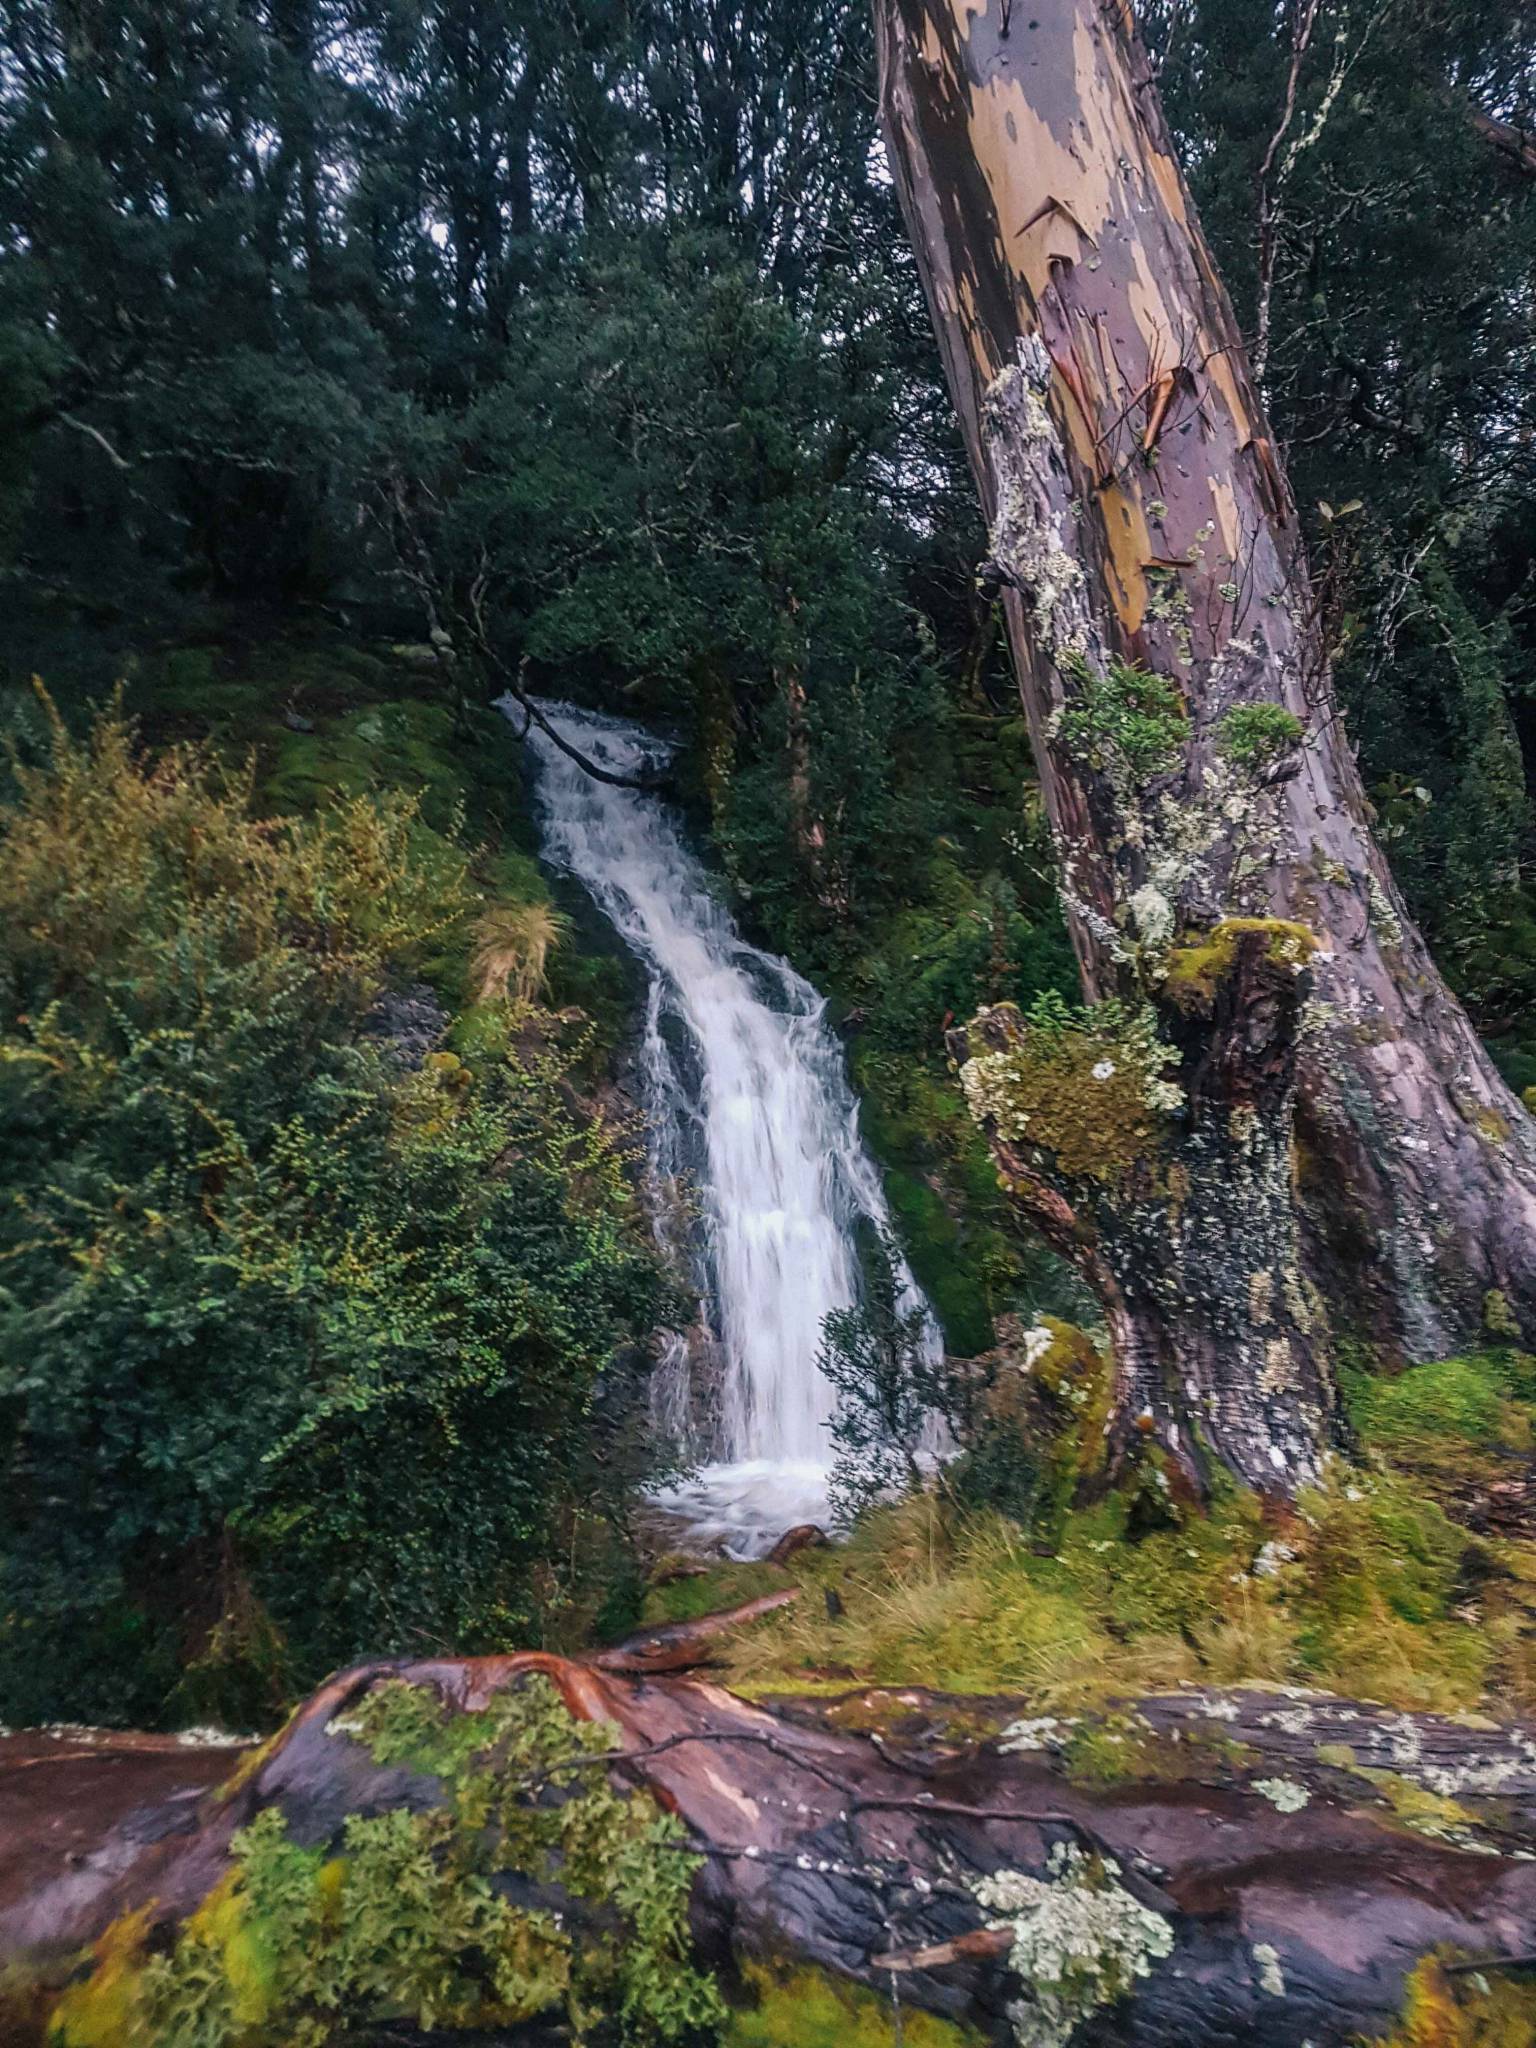

Day 1 – Cradle Mountain – Waterfall Valley
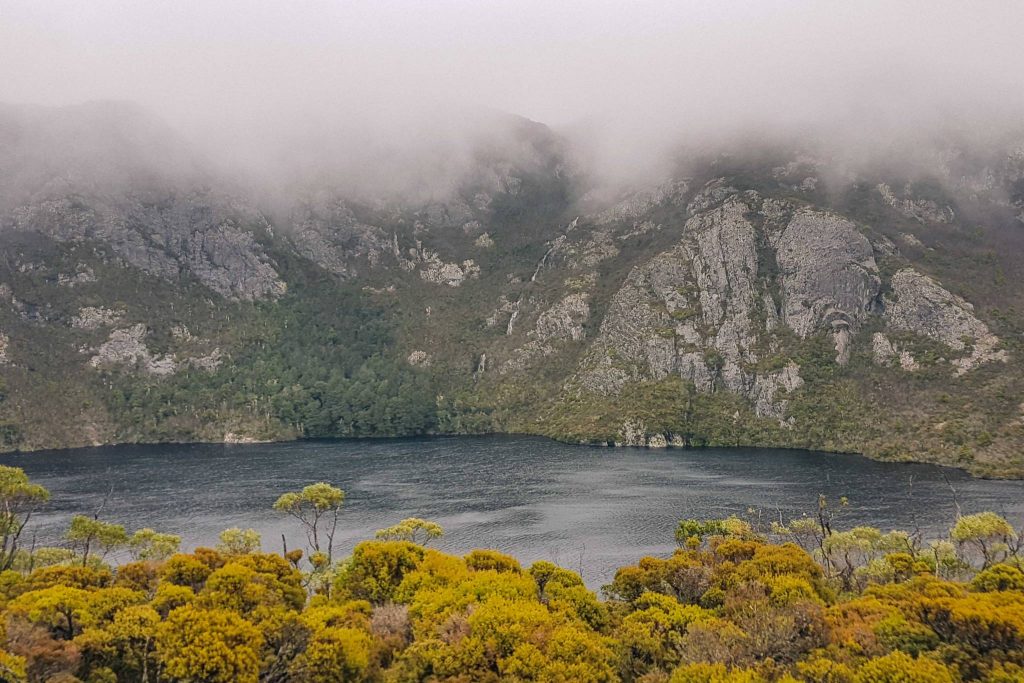
You have the option of starting either at the Cradle Mountain Visitor Centre, Ronny Creek or Dove Lake. The last two you can access via the free shuttle which leaves roughly every half hour from the visitor centre (this is free as it’s included in your parks pass). Many people opt to stay at Cradle Mountain for a night prior to starting. We only started hiking after midday, so in order to make it to the Waterfall Valley Hut before sundown, chose to take the shuttle shortcut to Dove Lake. From here, Cradle Mountain towers over the famously photographed lake. We did not see said mountain thanks to the clouds but it was still a beautiful walk around the lakes and to our first destination for the night.
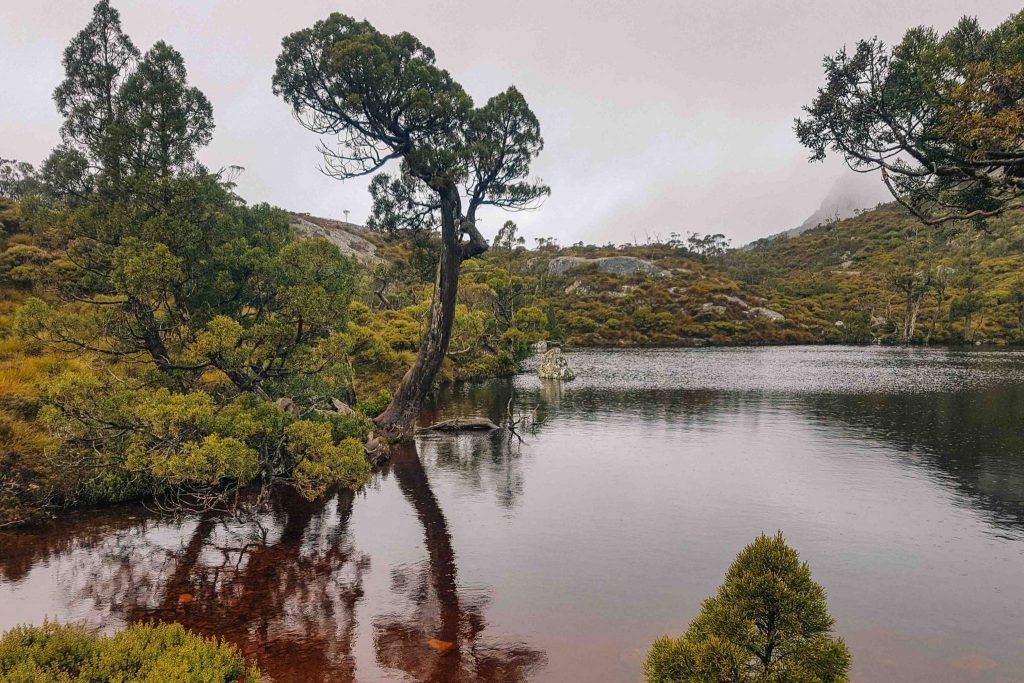
There are 2 huts you can stay in here. There’s the new hut and the old one. The former was certainly more inviting with its gas heater and cozy atmosphere but on this first night, there were more people than we expecting, and looking for a little bit of tranquillity, we opted for the latter. There was no heater so it was very cold but the hut was quaint and quiet. Even if you opt for the new hut, definitely wander on down to the old one in order to enjoy the two gorgeous waterfalls just outside which obviously, is where the name came from. You might also be greeted by one of the many wombats which call this place home!
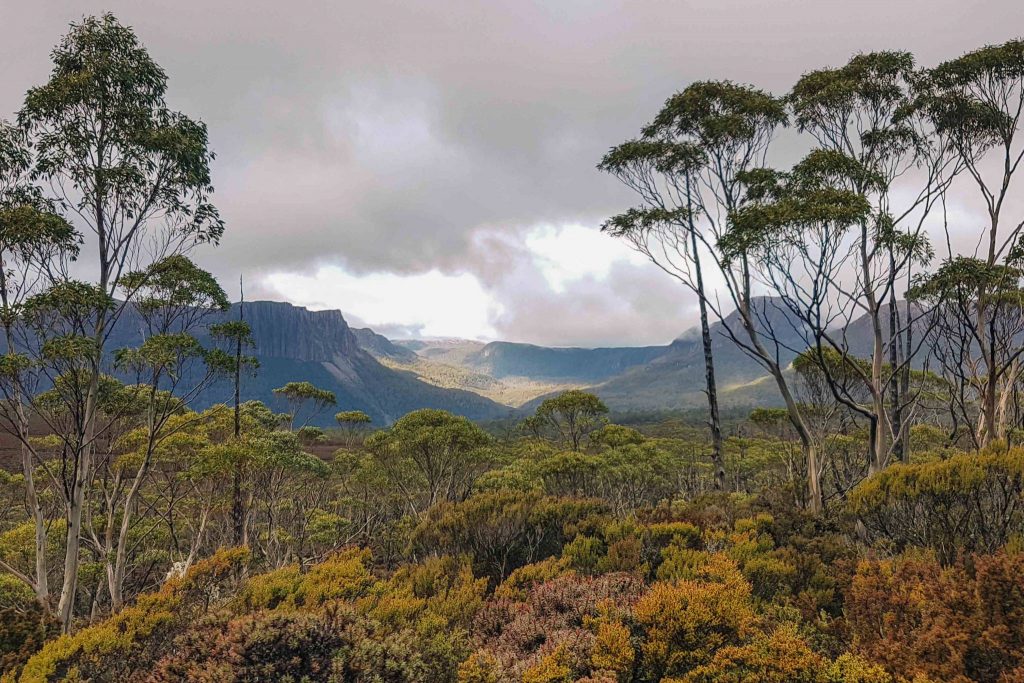
Day 2 – Waterfall Valley – Pelion Hut
Today was the day to feel enchanted and re-energised. Walking through the magical myrtle forests is like a scene out of Lord of the Rings. It was also a long day; a whole 26.6km of up and down walking and also the day my boots started taking on water…
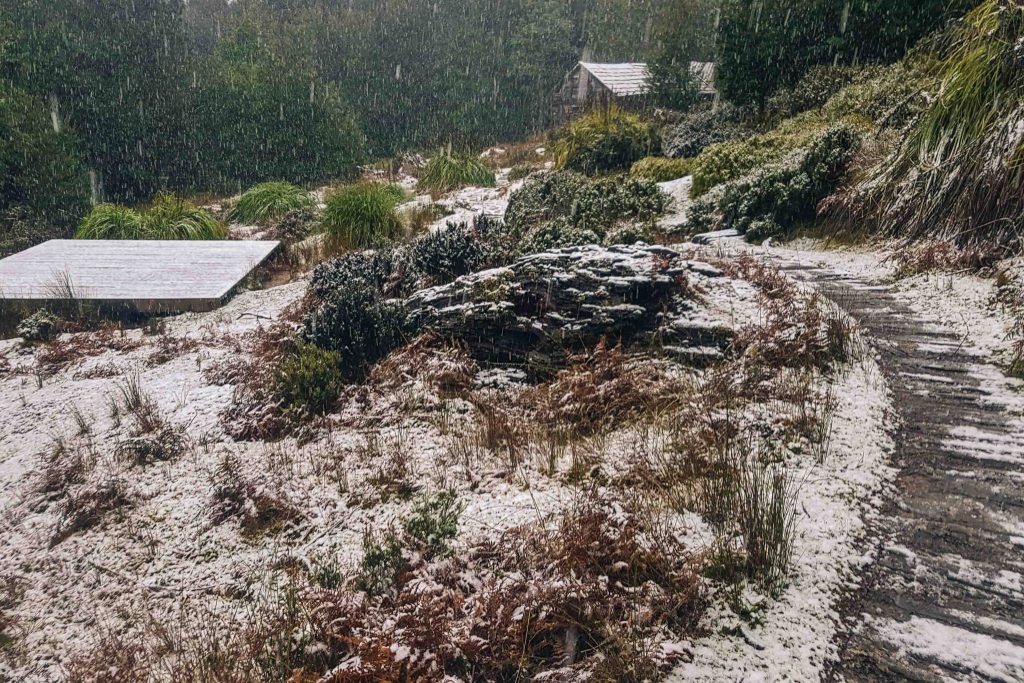
Day 3 – Pelion Hut – Kia Ora Hut via Mt Ossa
While my new gortex lined boots held up well for the first 2 days, by day 3 I just came to accept that they were going to get soaked through. This didn’t stop me from trying to jump over the mud puddles but that was more to keep me entertained than anything. Steering too far off the path to avoid the puddles and mud is futile and only results in damaging more of the natural landscape. Stick to the path and suck it up.
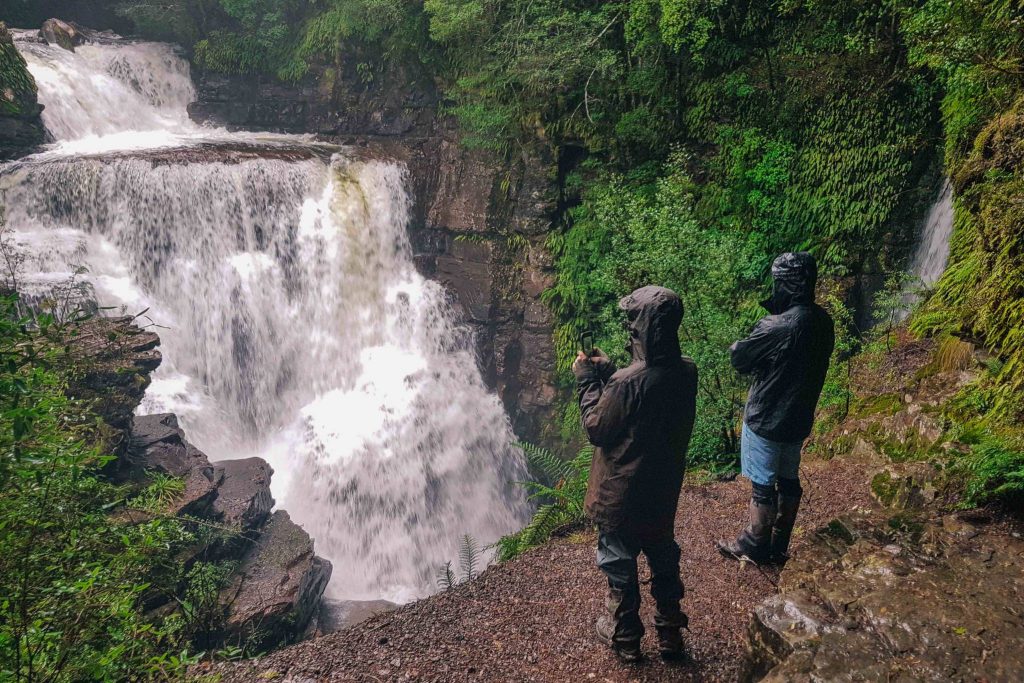
If I thought yesterday was a big day, then I didn’t know what today had in stall. On a whim, we decided to summit Mt Ossa despite feeling uncertain about the weather conditions. But as we scaled, the visibility was never so threatening we felt the need to turn back. Even though while at the top our views were still shrouded by clouds, I did have fun poking into the frozen pond and sloshing around in remnants of snow. Upon our descent, we were graciously rewarded with stunning views across the valley. By this point, my knees were starting to ache. And by ache, I mean screaming out to me and cursing me for this torture. I cringed, then looked up at the views, smiled and walked on.
Day 4 – Kia Ora Hut – Pine Valley Hut via D’Alton & Fergusson Falls
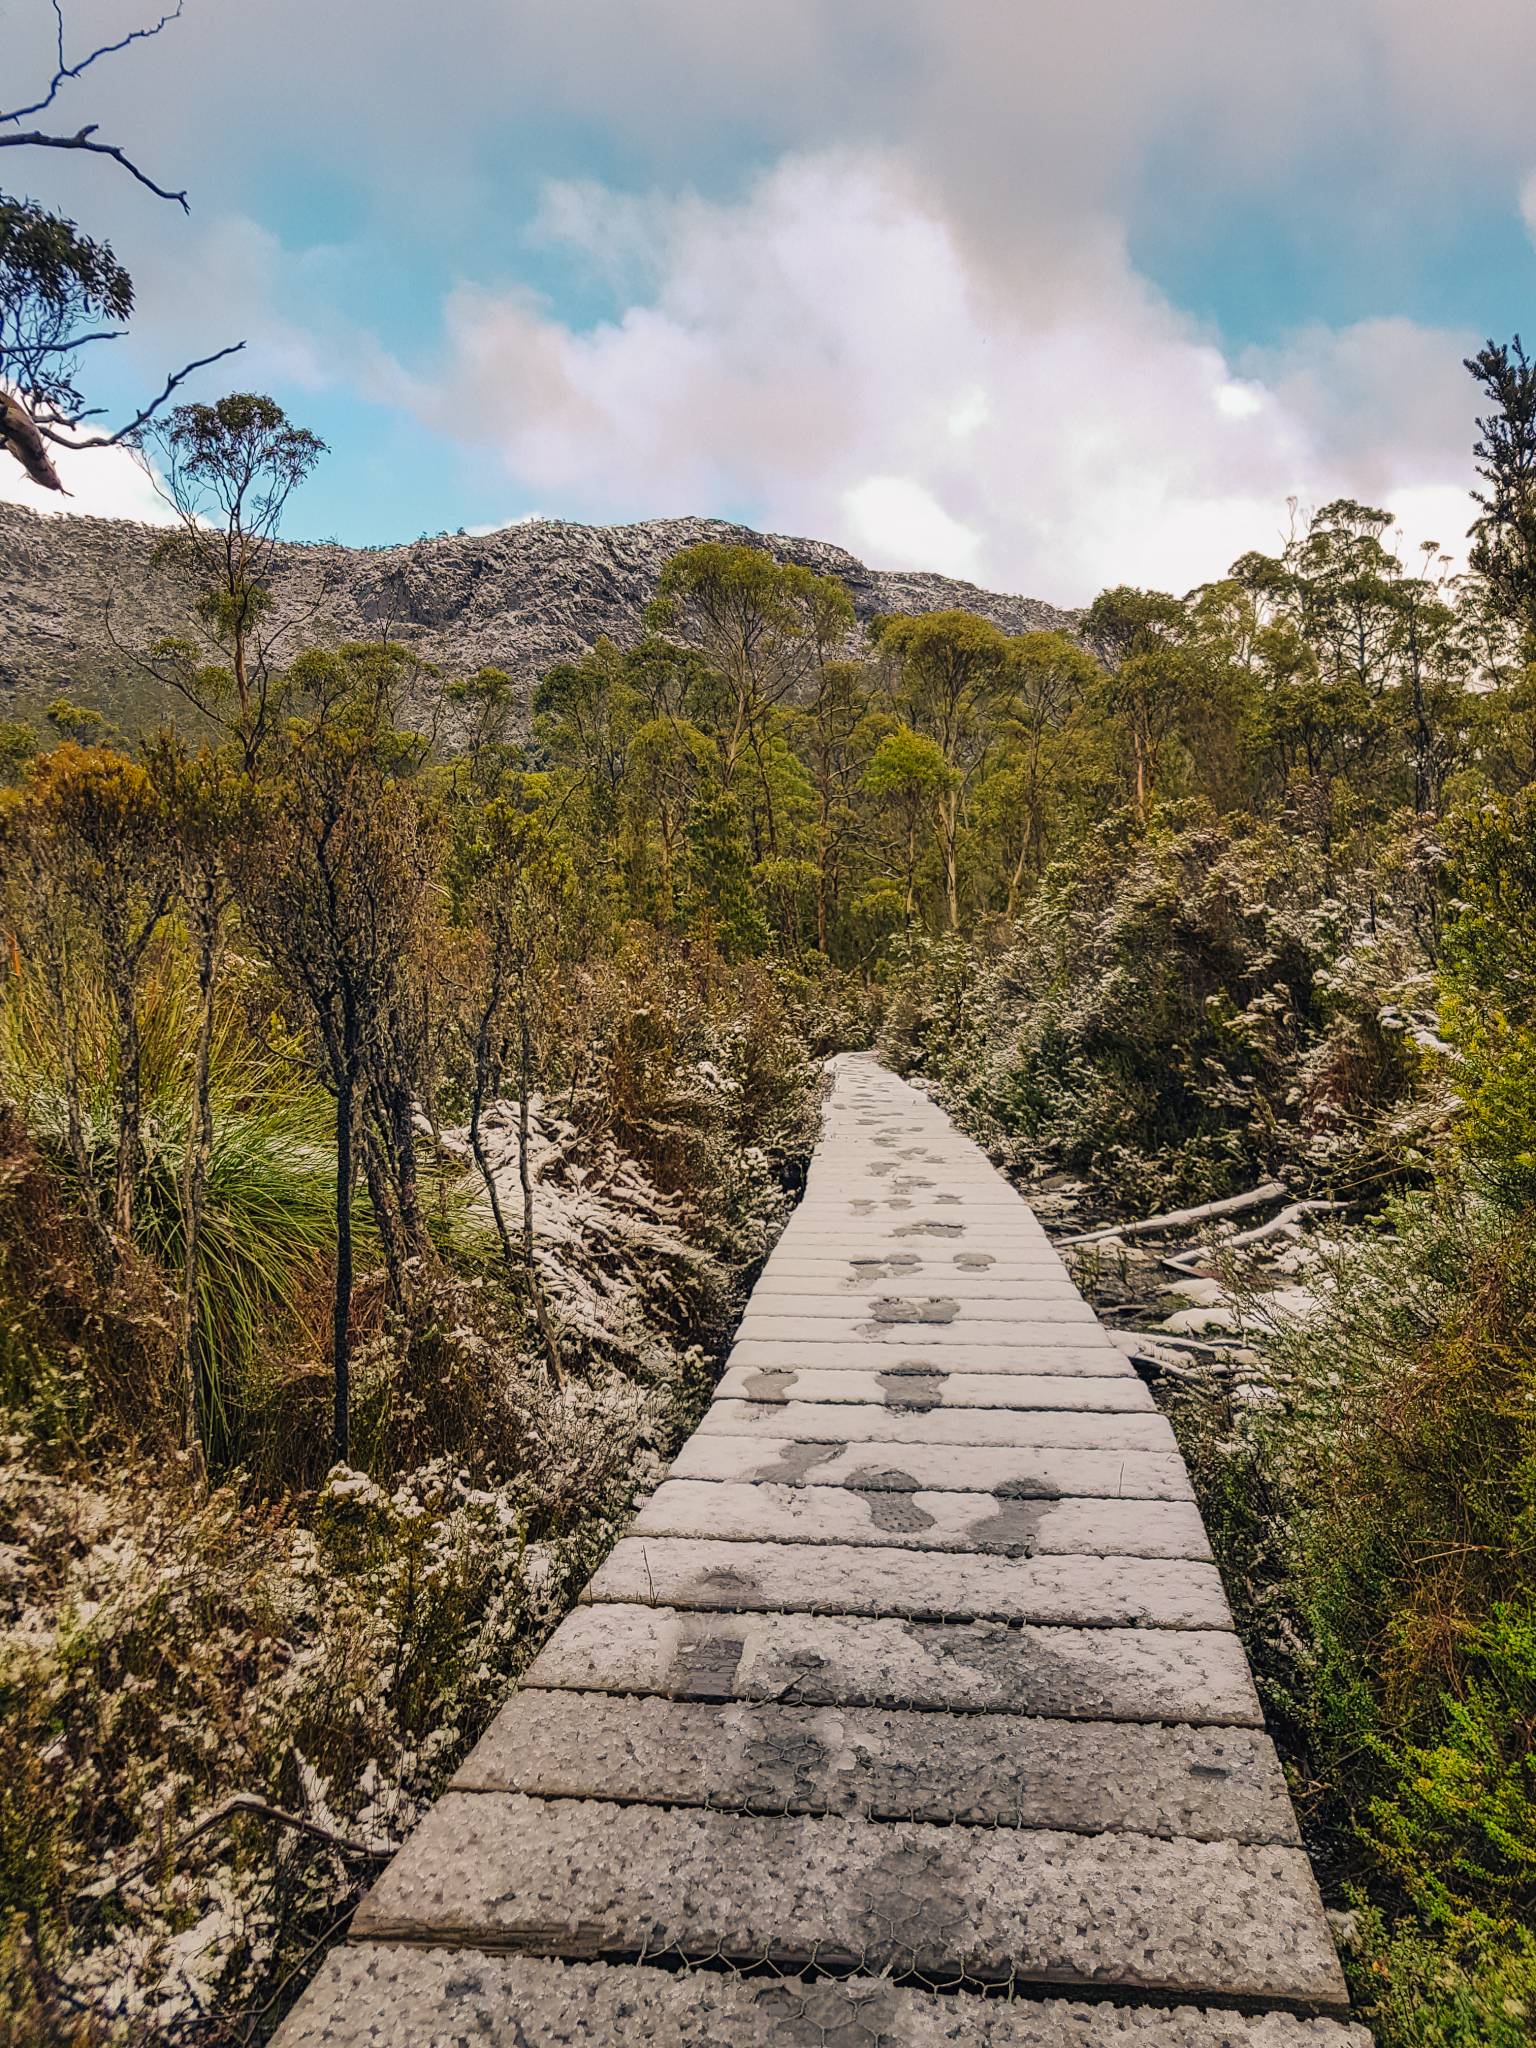
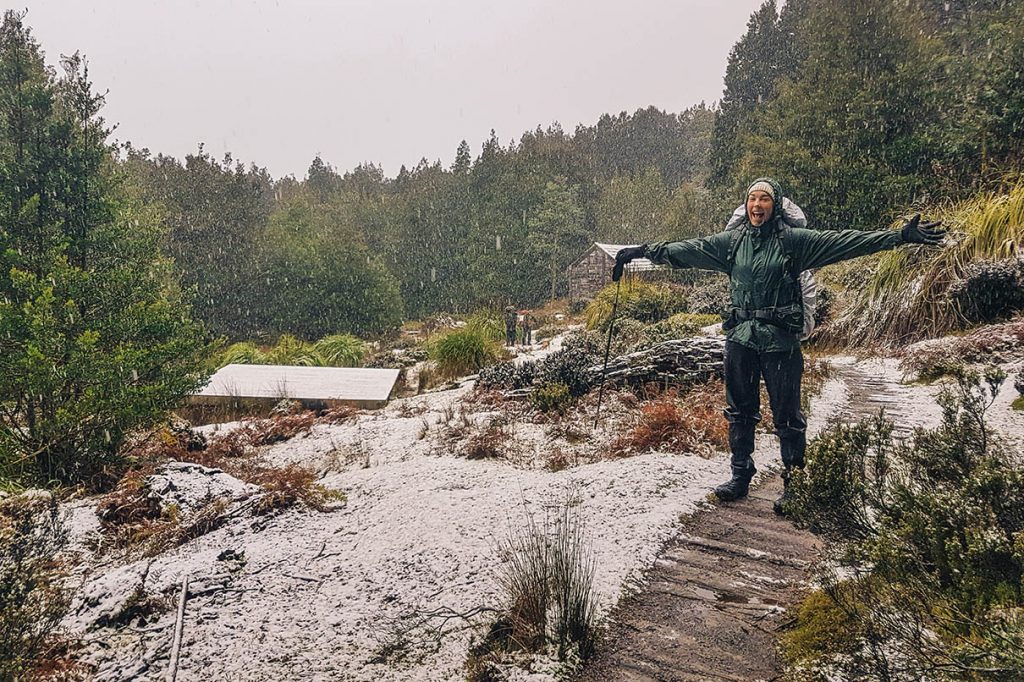
Snow!!! I can’t even begin to express how excited we were when the snow greeted us as we gained elevation. Not too much that it made life on the track more complicated than it needed to be, but just enough to add a wintery wonderland feel to the day. The waterfall side trails were only 1km and 1.5km respectively, which is worth it if you want to witness the sheer force of mother nature. Pine Valley was another awe-inspiring treat which I say, should not be missed. Beware, it’s easy to get lost in the forest so do not try and leave it too late in the day. The forest is already dark enough without the help of the dimming day.
Day 5 – Pine Valley Hut – Narcissus Hut
We received a dumping of rain overnight which meant we had to wade our way across an overflowing river. The water had flooded over a section of boardwalk which was nearly knee height in depth. I can see how these things can get nasty real quick. All hope of dry shoes that night had been lost. It provided us a good laugh though and thankfully, today was our shortest walking day. We were able to rug up at Narcissus hut and enjoy an afternoon of cards and hot beverages.
Day 6 – Narcissus Hut – Cynthia Bay Visitor Centre via Lake St Clair
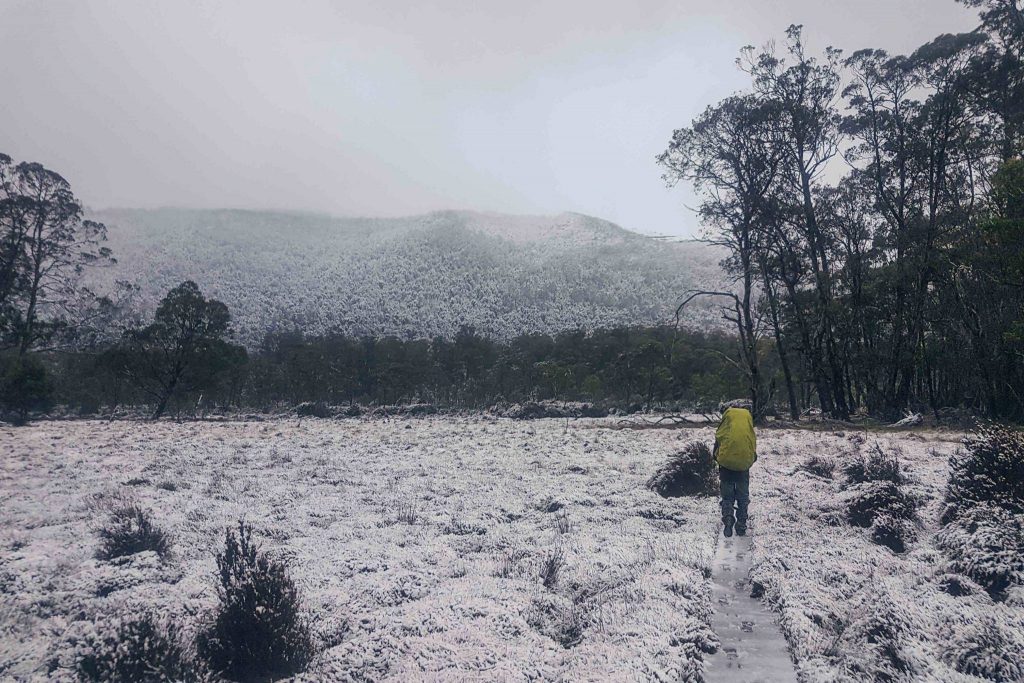
While many people prefer to take the ferry across the lake from here, my hard-headed mates and I weren’t having any of it. We opted to walk the extra 17.9kms, thinking the trail would be a gentle stroll in the park after what we had already been through. Oh, how we were wrong. The undulating path was muddier, wetter and more tiring than all of it put together. The fact we had already walked over 80kms by this point may have contributed to these feelings but hey, I wouldn’t change it for the world now that I’ve done it! And it made that delicious flat white and pastry at the end of it taste all the better.
Essential Gear:
- Tent
- Sleeping Bag & Mat
- Thermals
- Warm puffer jacket/clothing for the evenings
- Good quality rain gear
- Water bottle (rain water available at each hut however you may wish to treat this. Your call. I didn’t)
- Waterproof pack liners (keep your gear dry!)
- Good quality trekking pack (the average weight of gear a hiker carries on this track is around 15-16kgs and you’re carrying this for multiple days – it gets hard at times! You need a pack that can distribute the weight so you aren’t burdening your shoulders).
- Sturdy hiking boots (lightweight & quick drying boots are actually pretty handy)
- Self sufficient cooking equipment (no campfires allowed)
- Food!! (we subsisted mainly off daal, rice & dehydrated veggies, jerky, granola bars, nuts, dried fruit, porridge, and Aeropress coffee! Some people can get pretty fancy with their meals. I kid you not when I say, there were 2 girls who brought 2kgs of cheese and about 2-3kgs of trail mix on top of everything else. Bless them for sharing though! It’s up to you how much weight you want to carry…)
- Socks – I recommend 3 pairs (1 for night time & 2 to switch between for walking)
- First aid kit (for me strapping tape became a godsend thanks to fellow hikers)
- Head torch
- Toilet paper & hand sanitiser
- Beanie & gloves
- Toothpaste & toothbrush
- Map/guidebook
Optional:
- Baby wipes (I mean, only if you want some feeling of freshness after a gruelling day’s walk)
- Playing cards/book to read/something to entertain you of a night
- Flips flops (makes the nightly toilet run easier so you don’t have to put wet boots back on)
- Zip lock bags (for putting your rubbish in)
- Battery pack (for charging phone/camera)
The Tasmanian Parks & Wildlife Service have more recommendations about what to expect and pack, but I hope it’s been helpful reading my experience. If you’ve got any questions, then feel free ask below!
