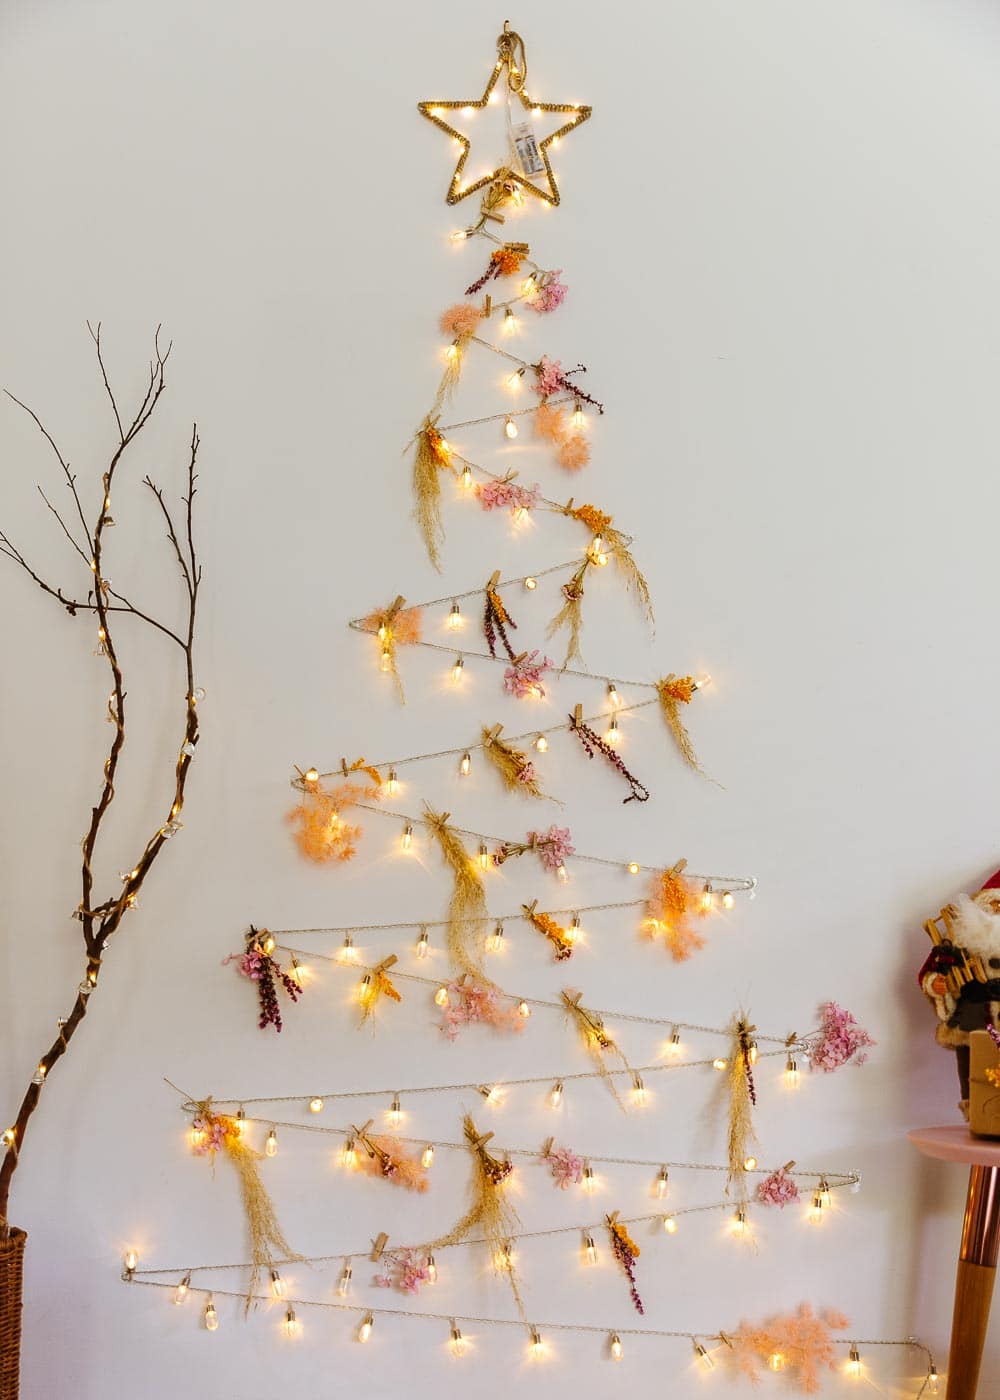
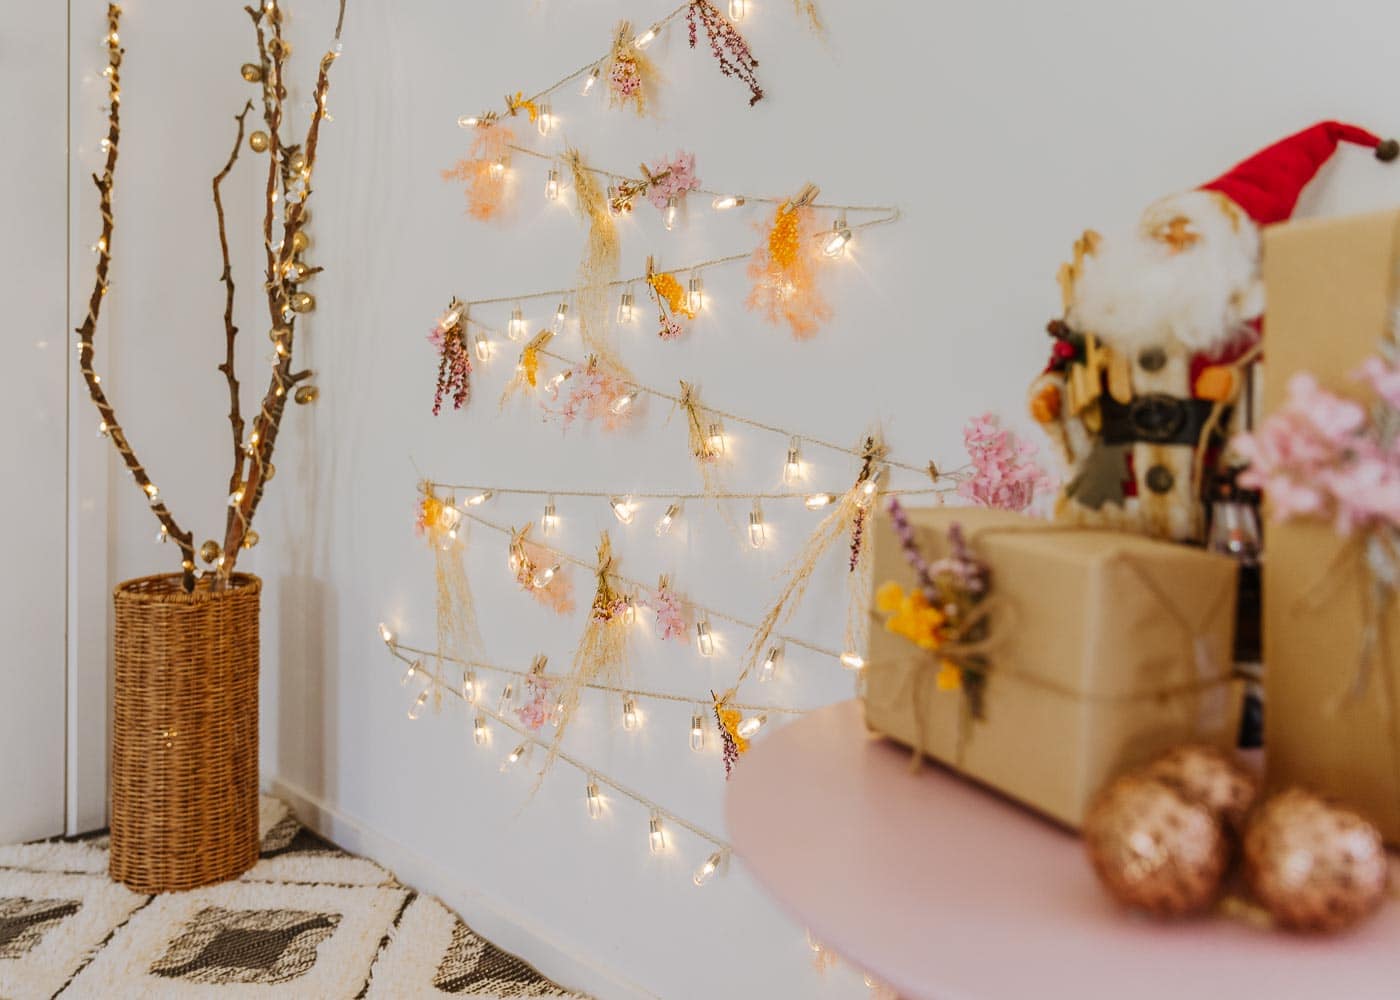
Most years I create a DIY Christmas Tree, and this year it’s all about fairy lights.
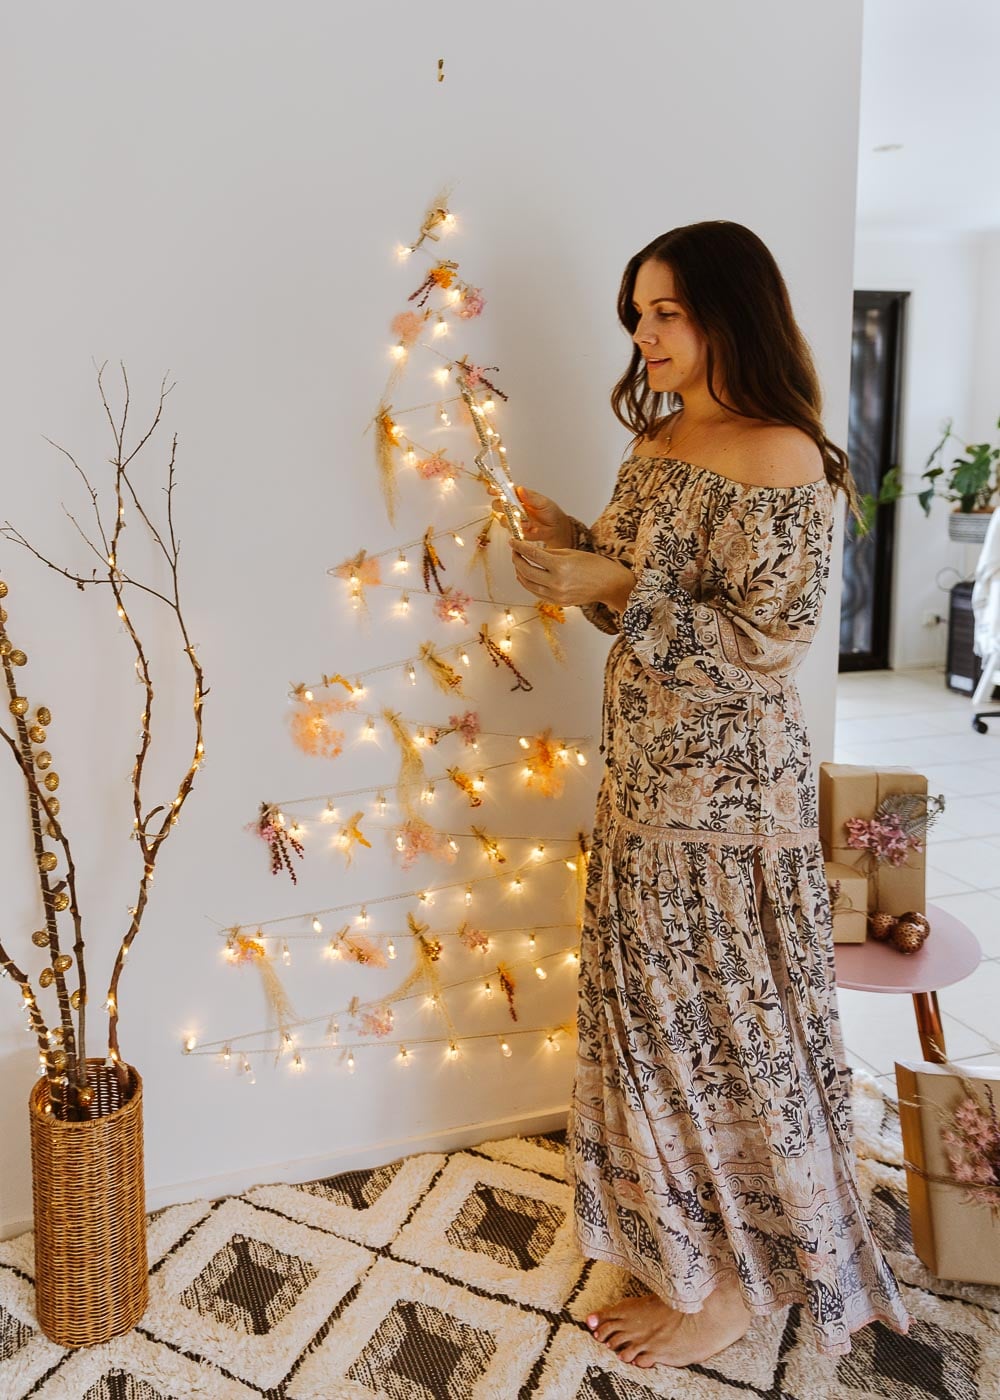
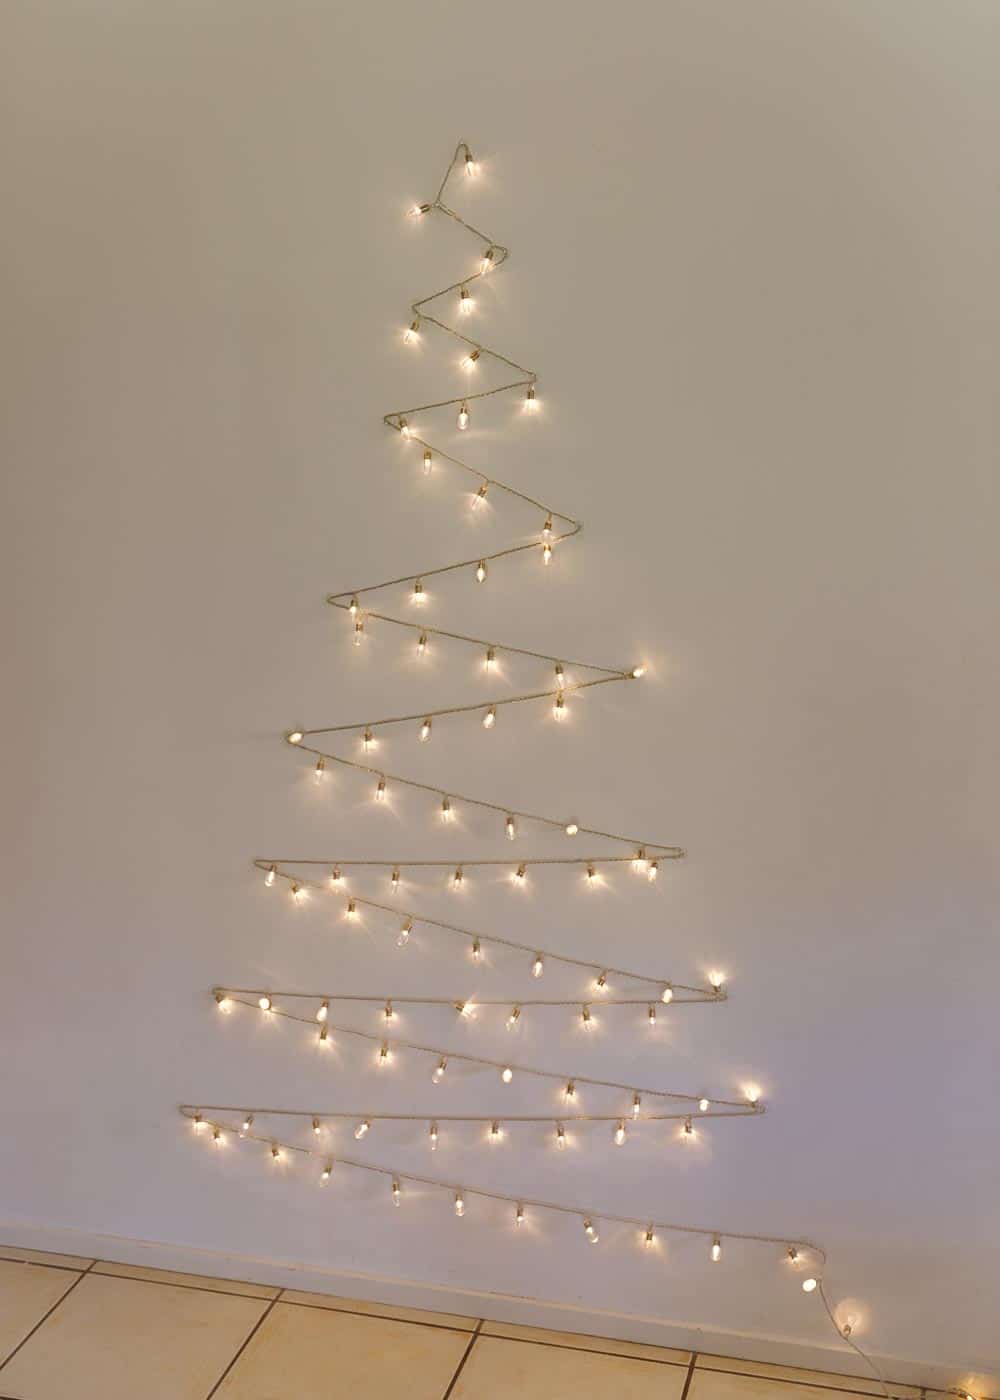
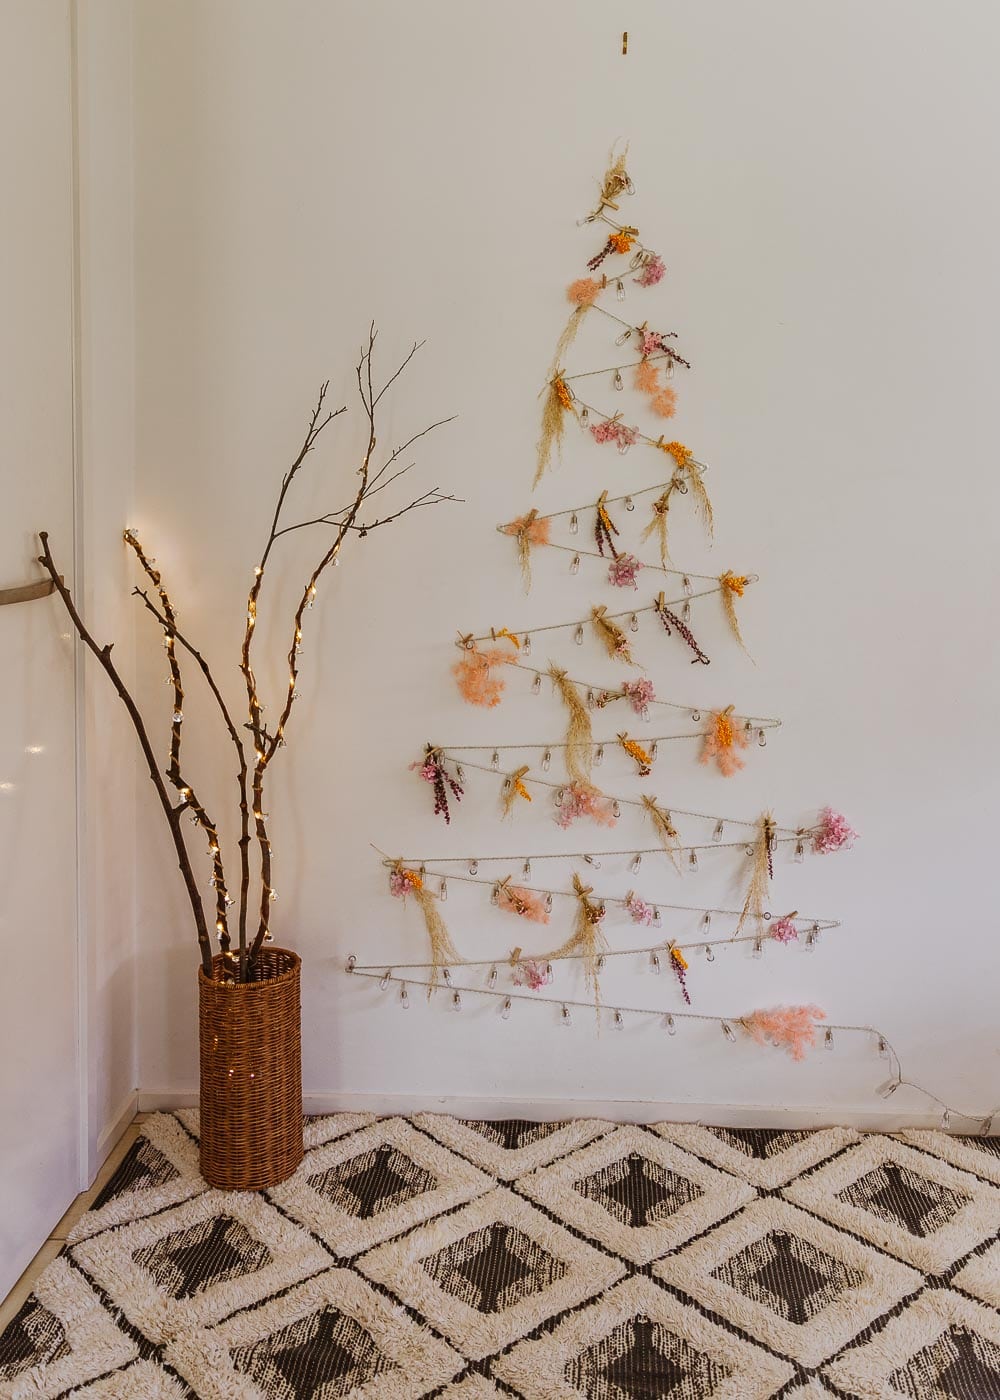
This simple fairy light tree was so easy to make, using only two items, lights and hooks, and you can make it as big or as small as you like to suit your space.
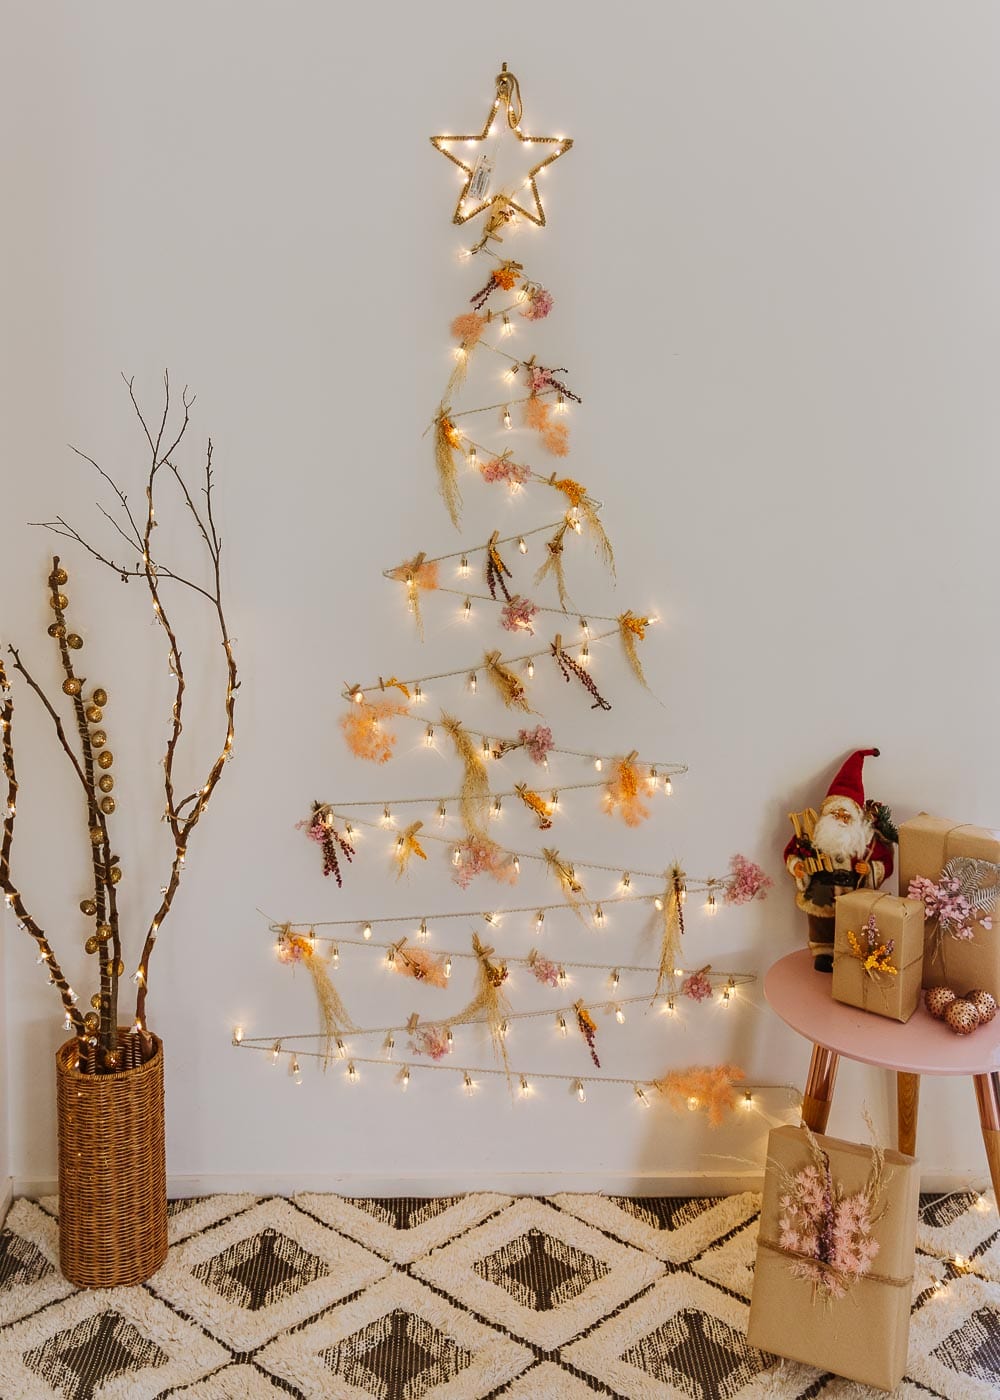
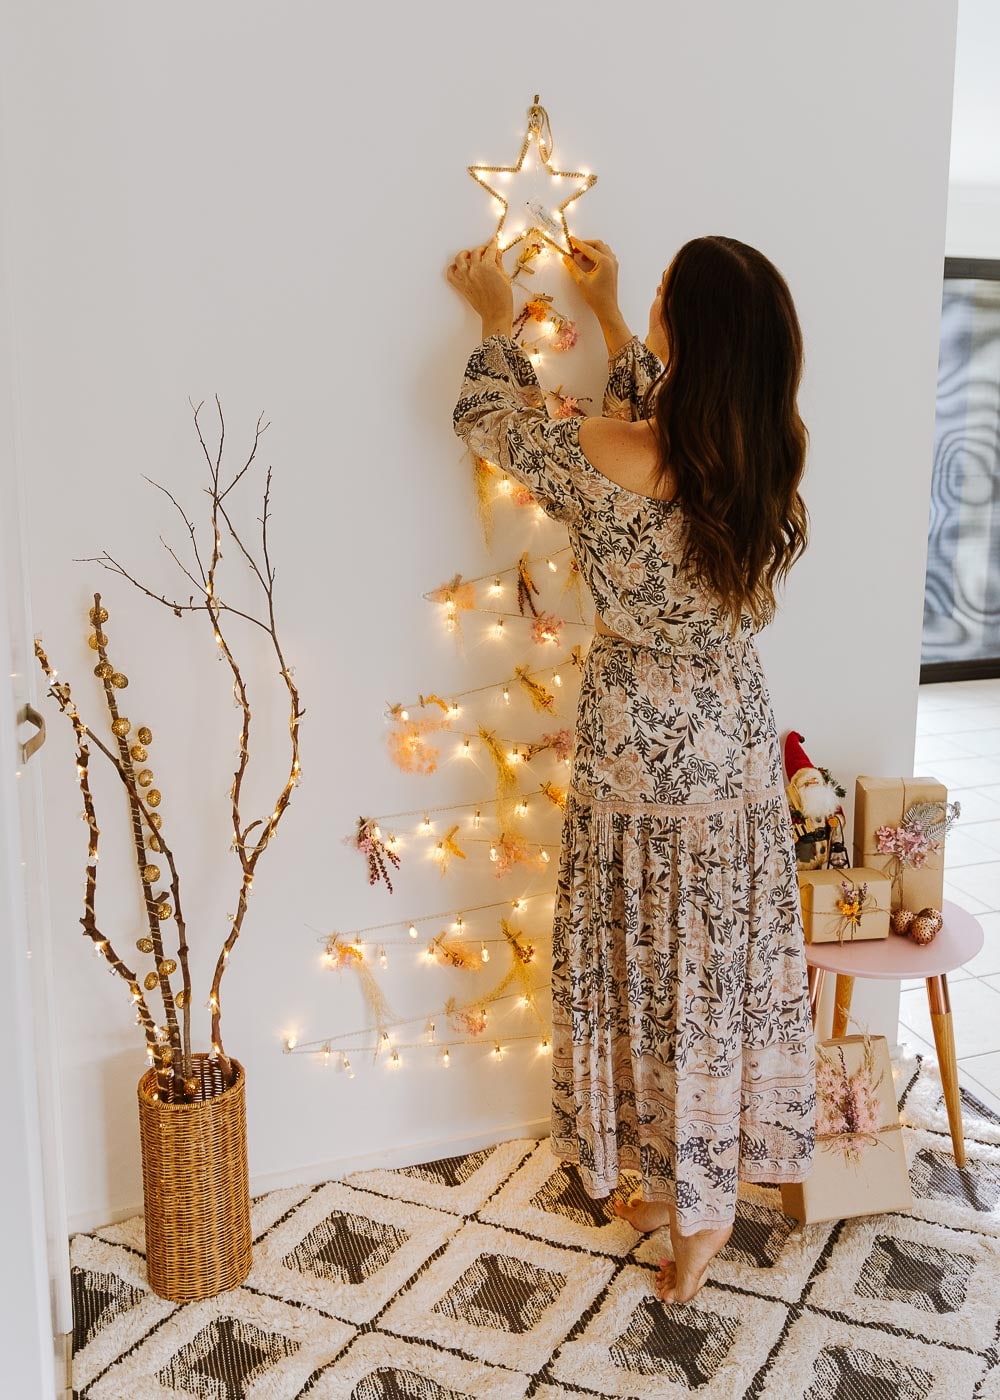
The corner I chose to hang the string light tree was a little bare, so I created a whole little scene with an old rug, some presents, and an extra fairy light DIY using some foraged sticks.
I love how it turned out! I keep turning the lights on just to see it all lit up and feeling festive!
More Ways to Celebrate a Sustainable Christmas
Here are our other guides to an eco-friendly holiday season:
Sustainability, straight to your inbox
Monthly tips, stories, and inspiration to make living greener easy
DIY Fairy Light Christmas Tree
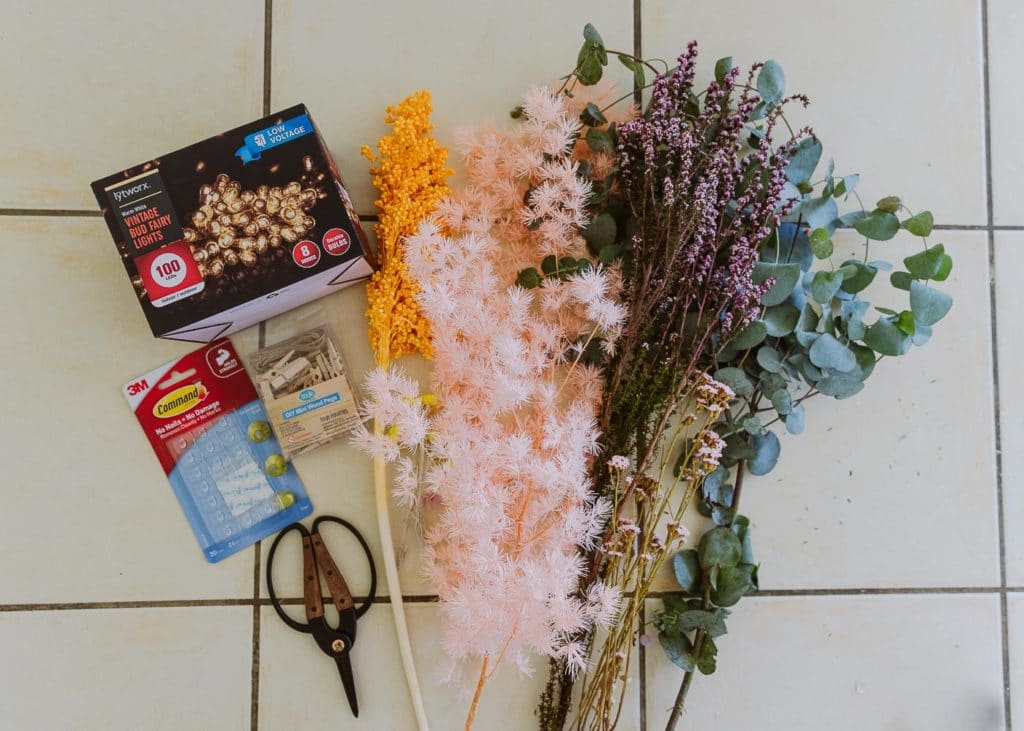
For this project, I used:
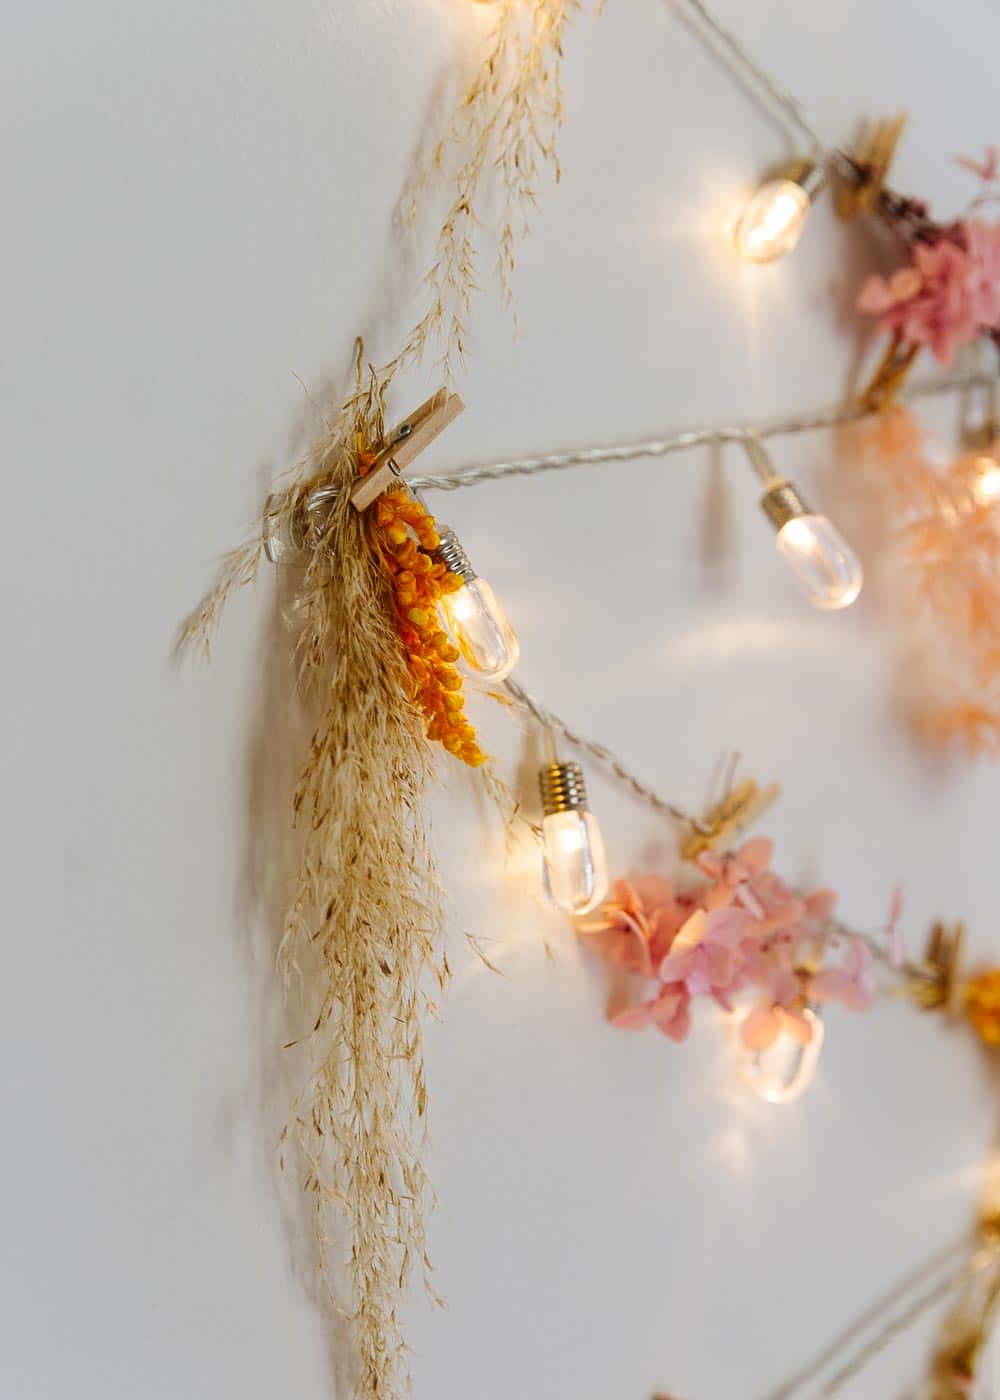
- Vintage Bud Fairy Lights 100 LEDs in Warm White – this was the perfect length for the space I chose, and I love the shape of the globes
- Command Clear Adhesive Strips – I’d recommend two packs as a backup, just in case you make mistakes!
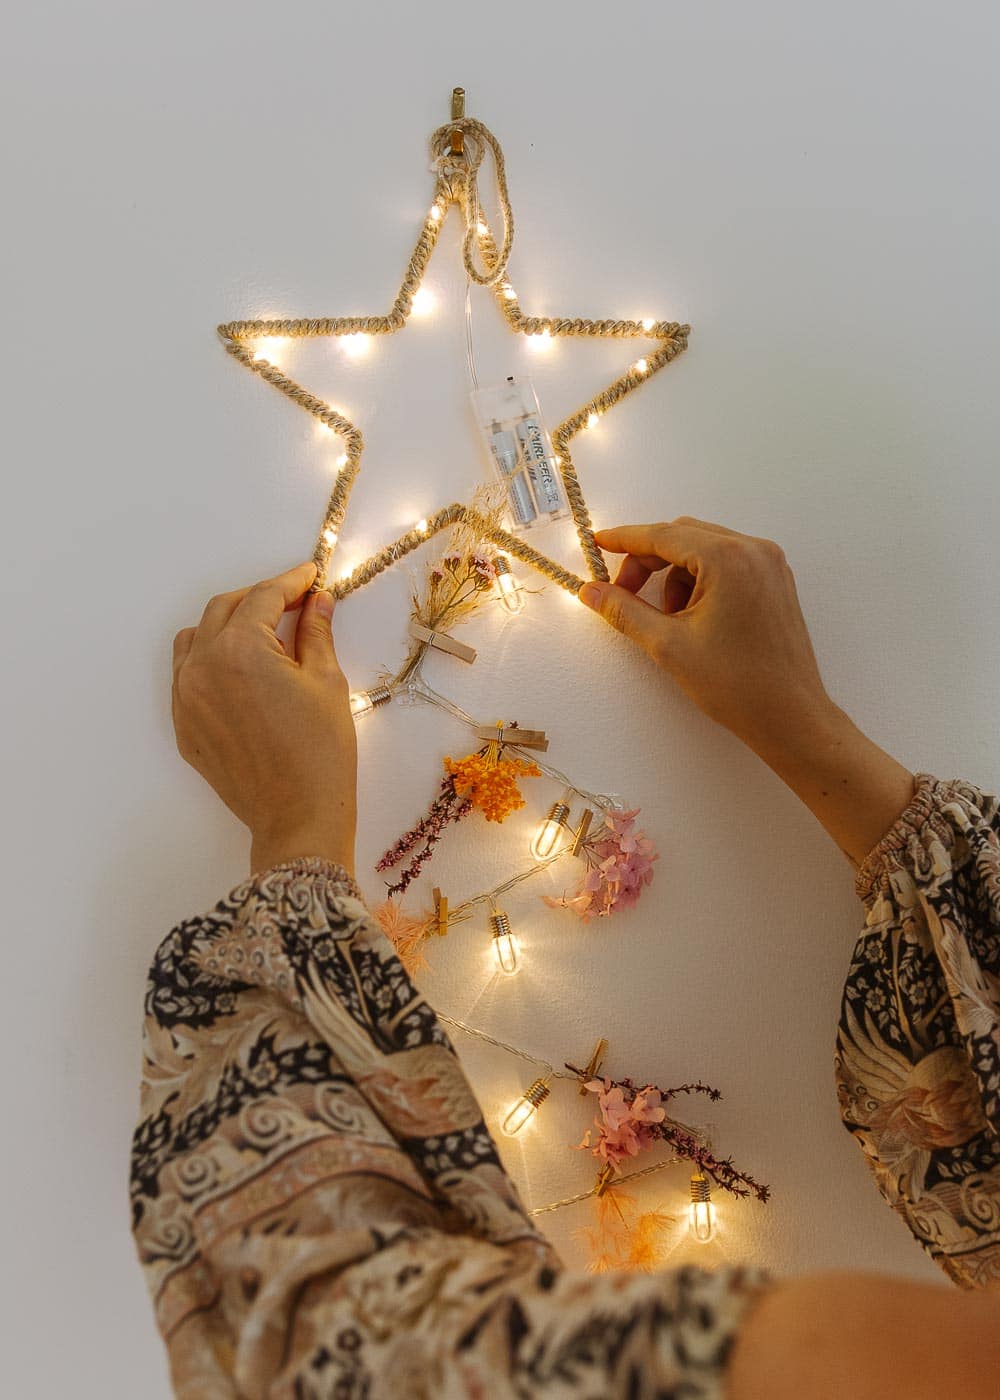
- A tree topper, I had this cute hemp rope star in the Christmas box
- A selection of dried flowers – you can also use baubles you already have, or do a whole new DIY to make your decorations!
- Mini Wood Pegs – these come in assorted sizes making them perfect for the different-sized flowers I used
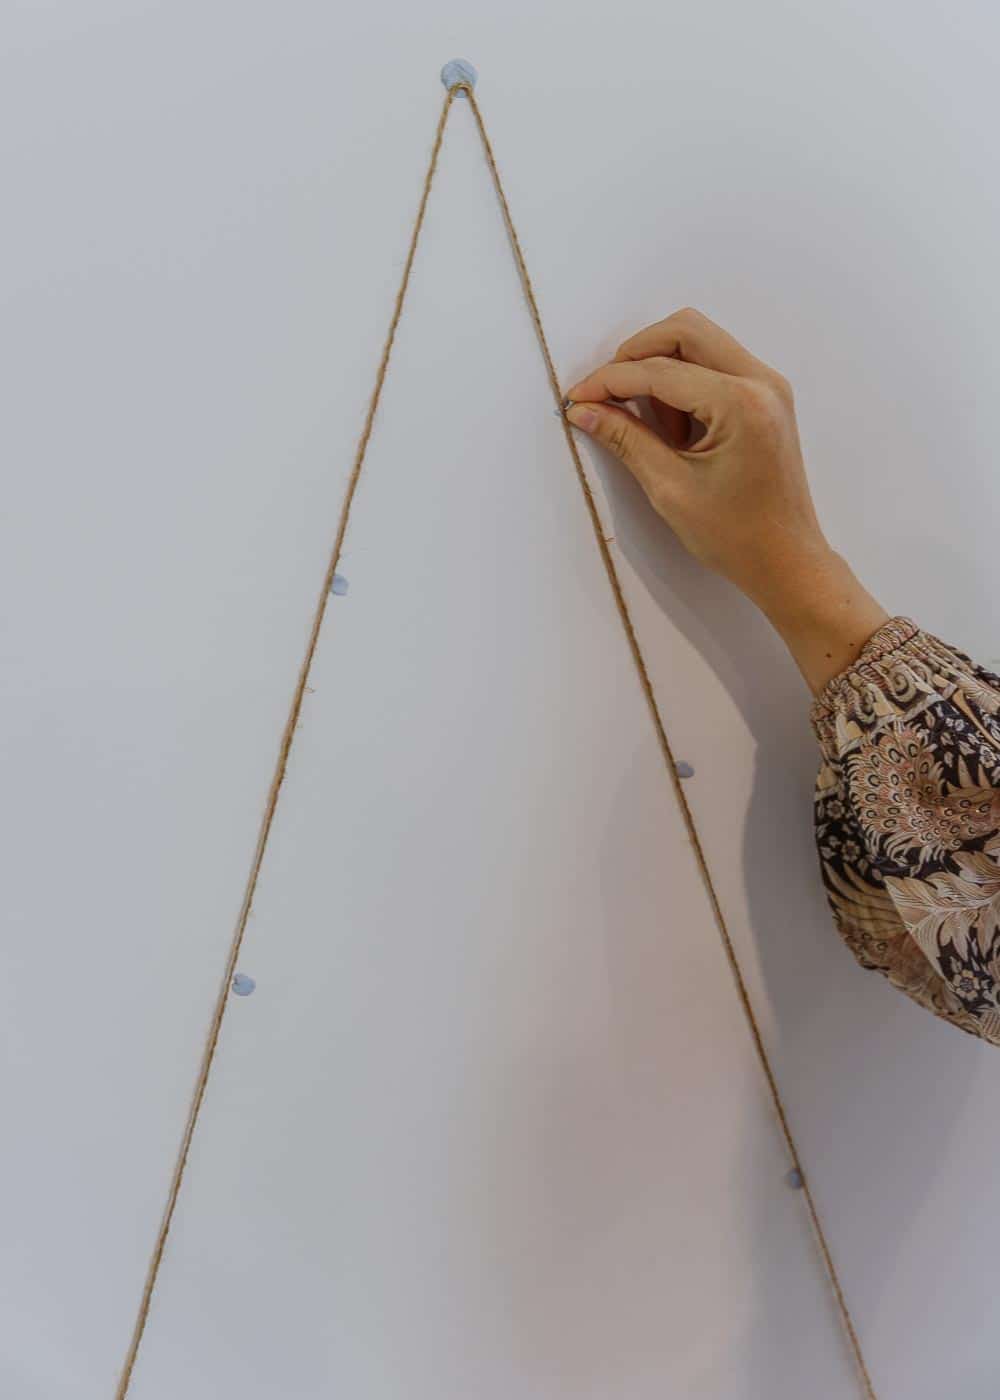
You’ll also need some twine and bluetack to measure out the space to make sure you get it right the first time!
Planning the Tree
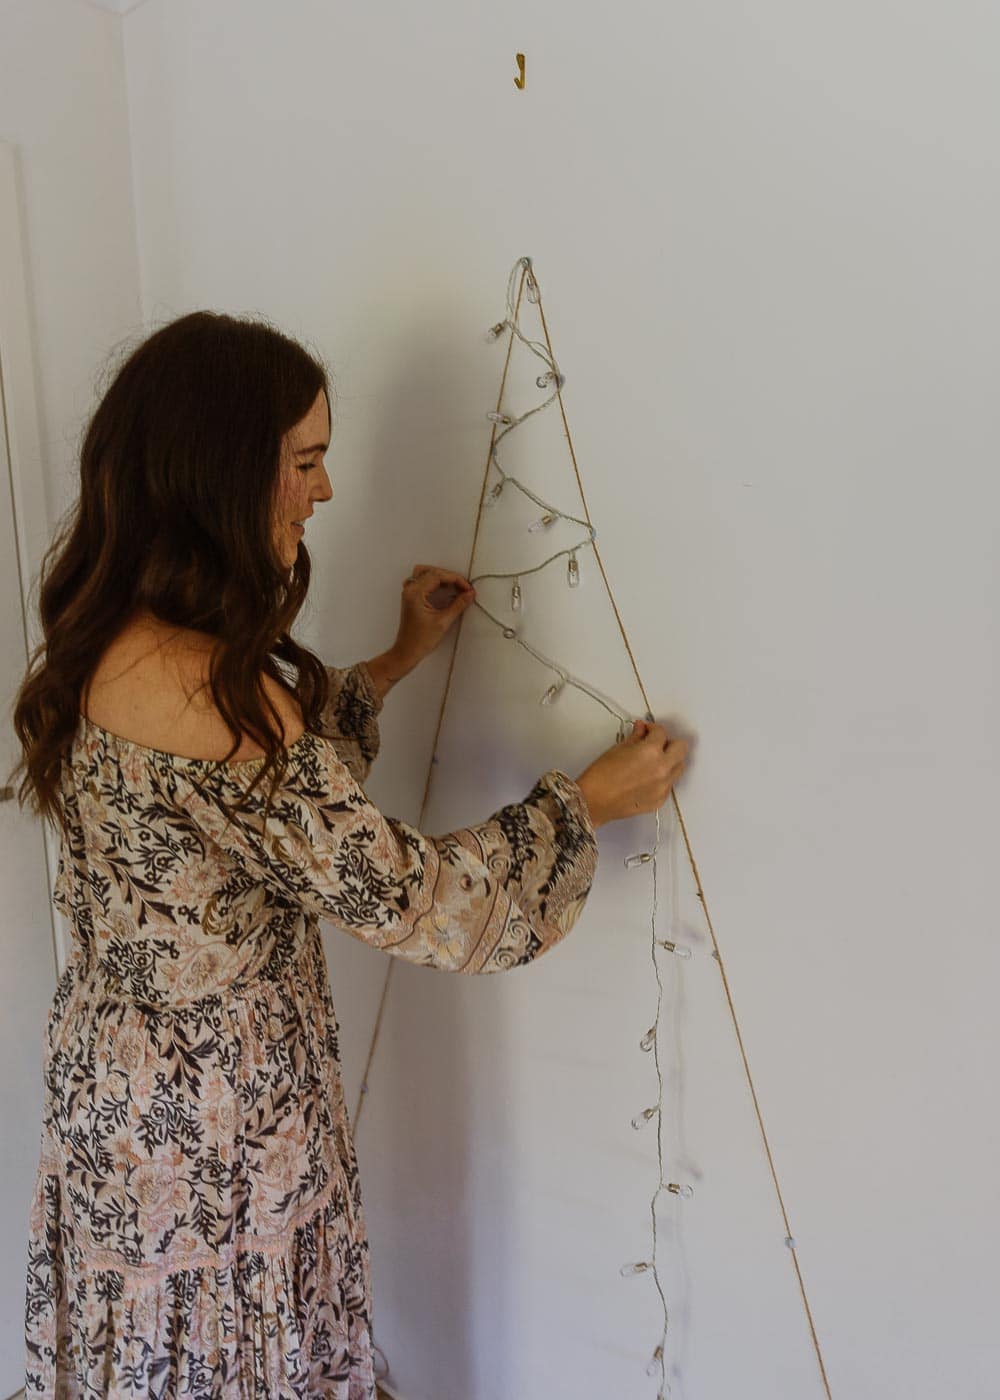
Start by measuring the space and using the twine and bluetack, map out how big you’d like your fairy light tree to be and where your lights are going to zigzag.
Once you have those in place grab your lights and stick them to the bluetack to see how the placement looks and adjust as needed. It’s worth spending a little extra time getting it right at this stage, it’s much easier to move bluetack than adhesive!
When you’re happy with the placement, remove the twine then start sticking the adhesive strips where you’ve placed the bluetack – when you remove the bluetack, give the wall a wipe with a dry cloth to give the adhesive the best chance at sticking. Repeat until you’ve assembled all the adhesive strips.
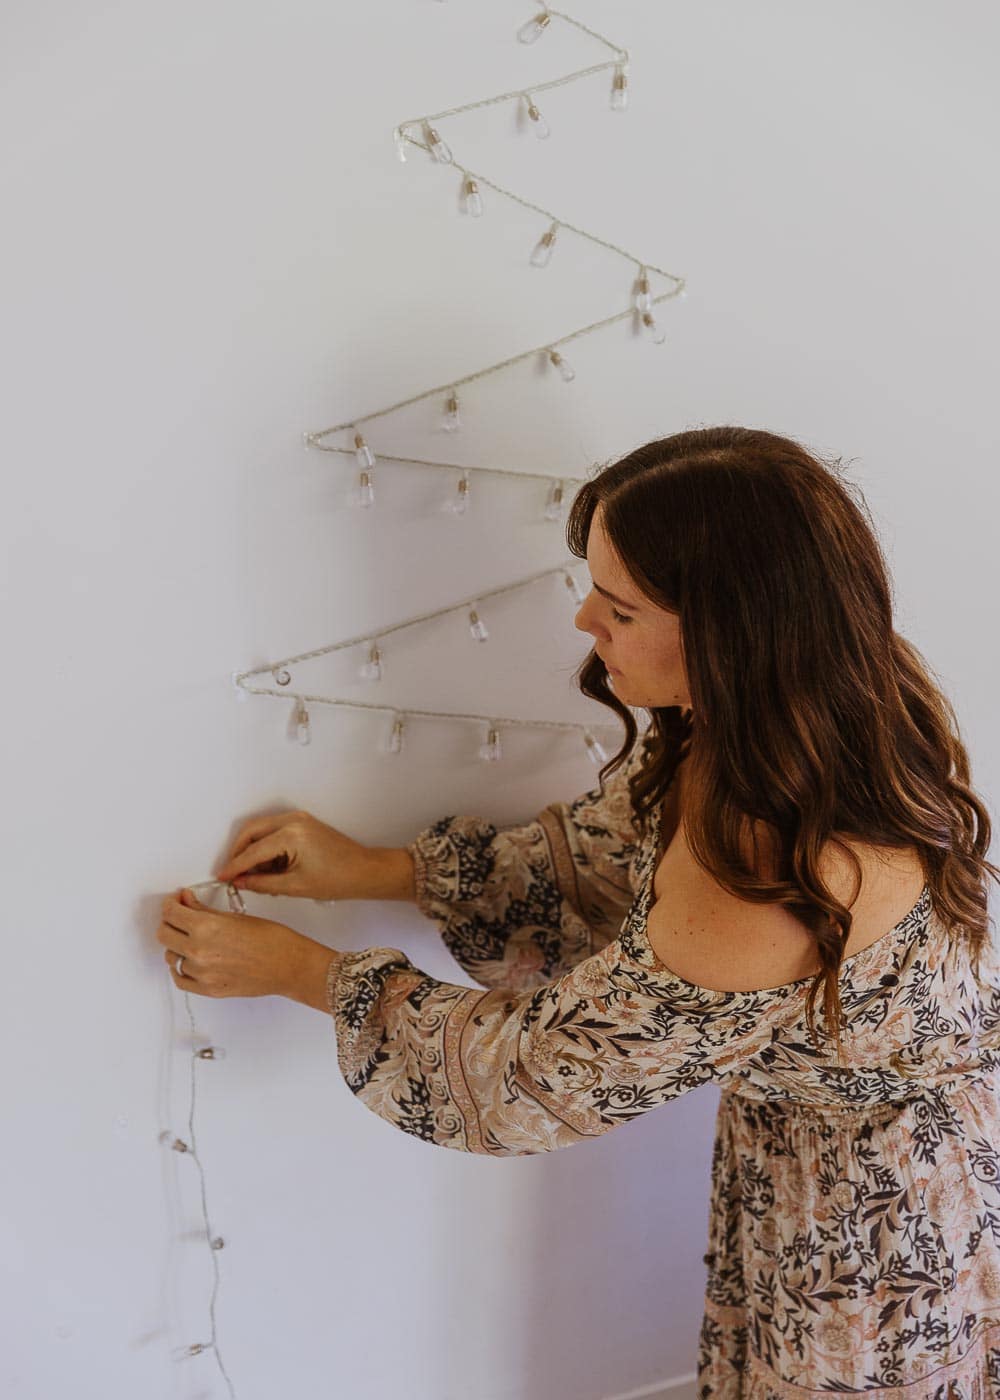
Starting at the top, string your lights in a zigzag along the wall, pulling taught and attaching to the hooks as you go along. Finally, plug the lights in to make sure all looks good.
Now the fun part, decorating!
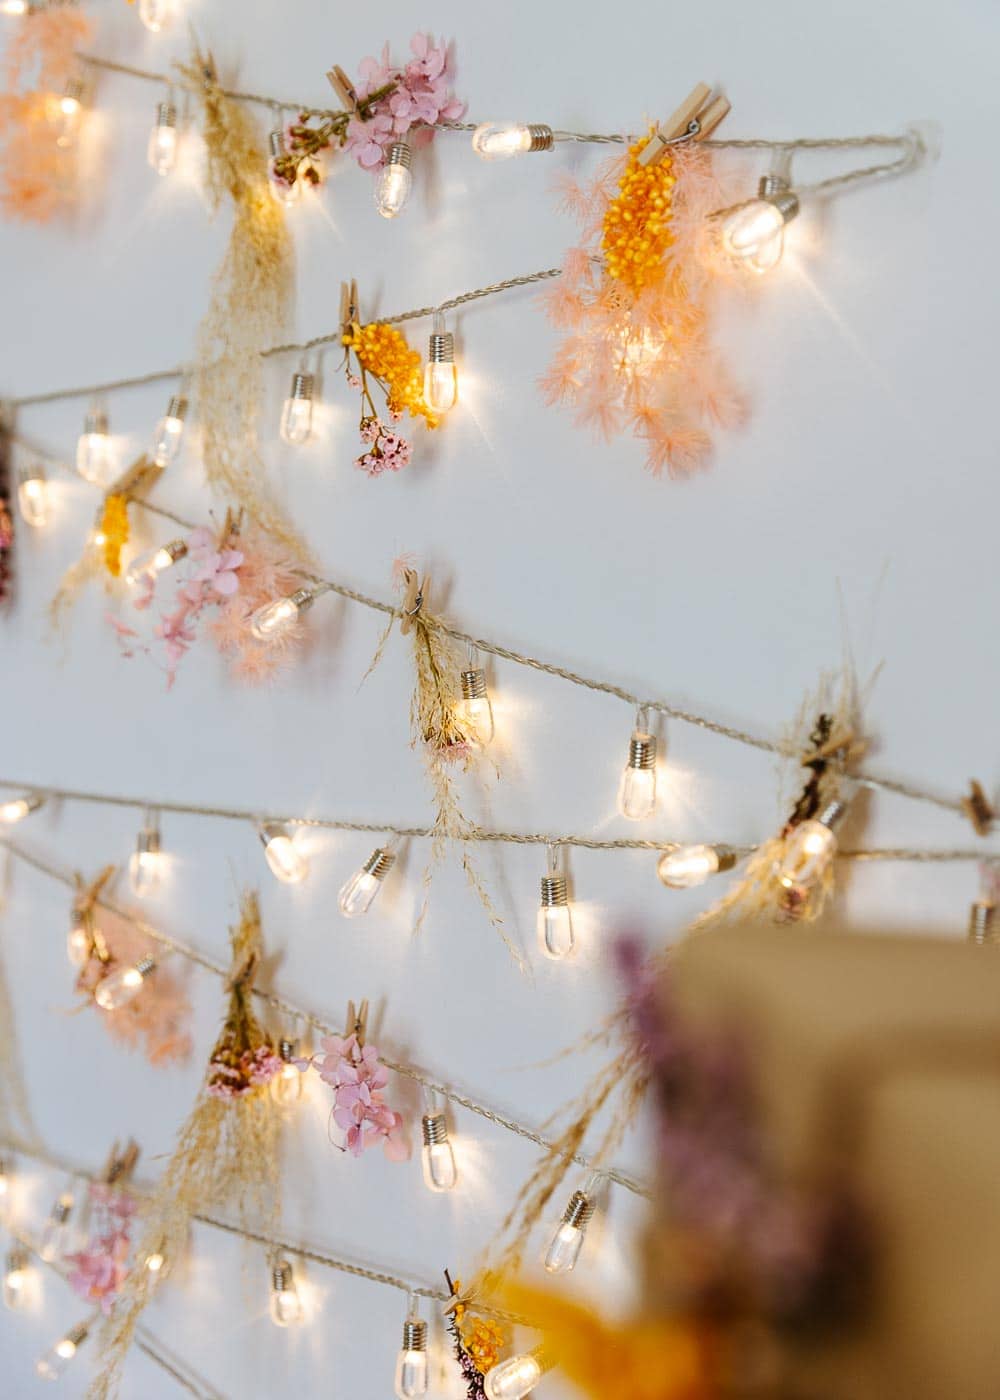
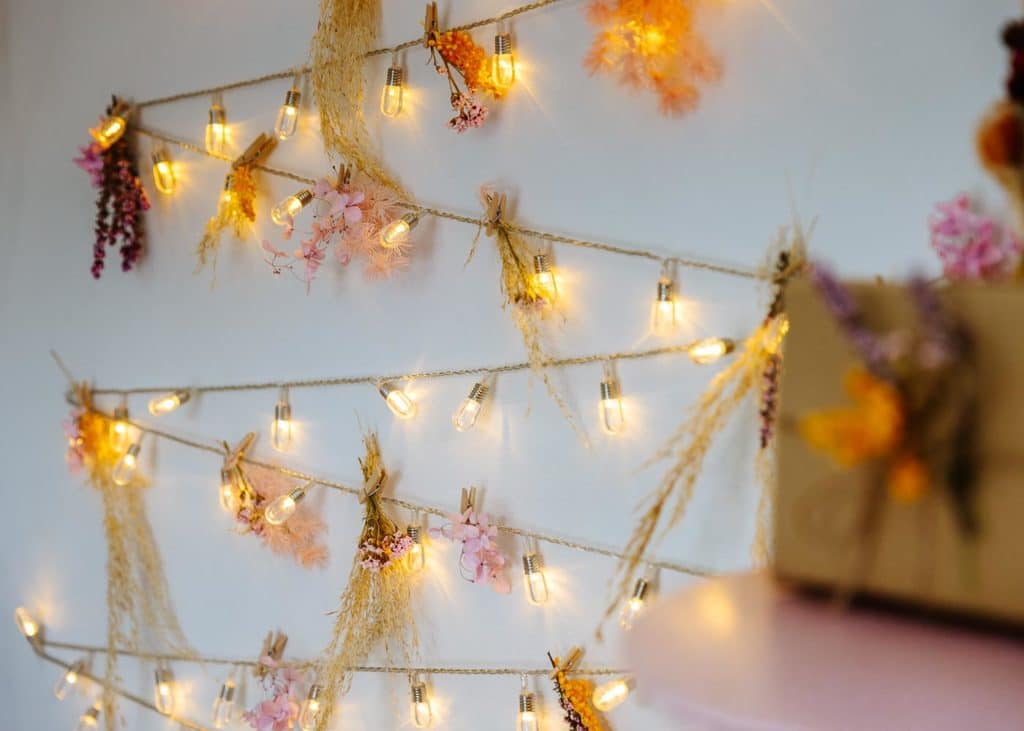
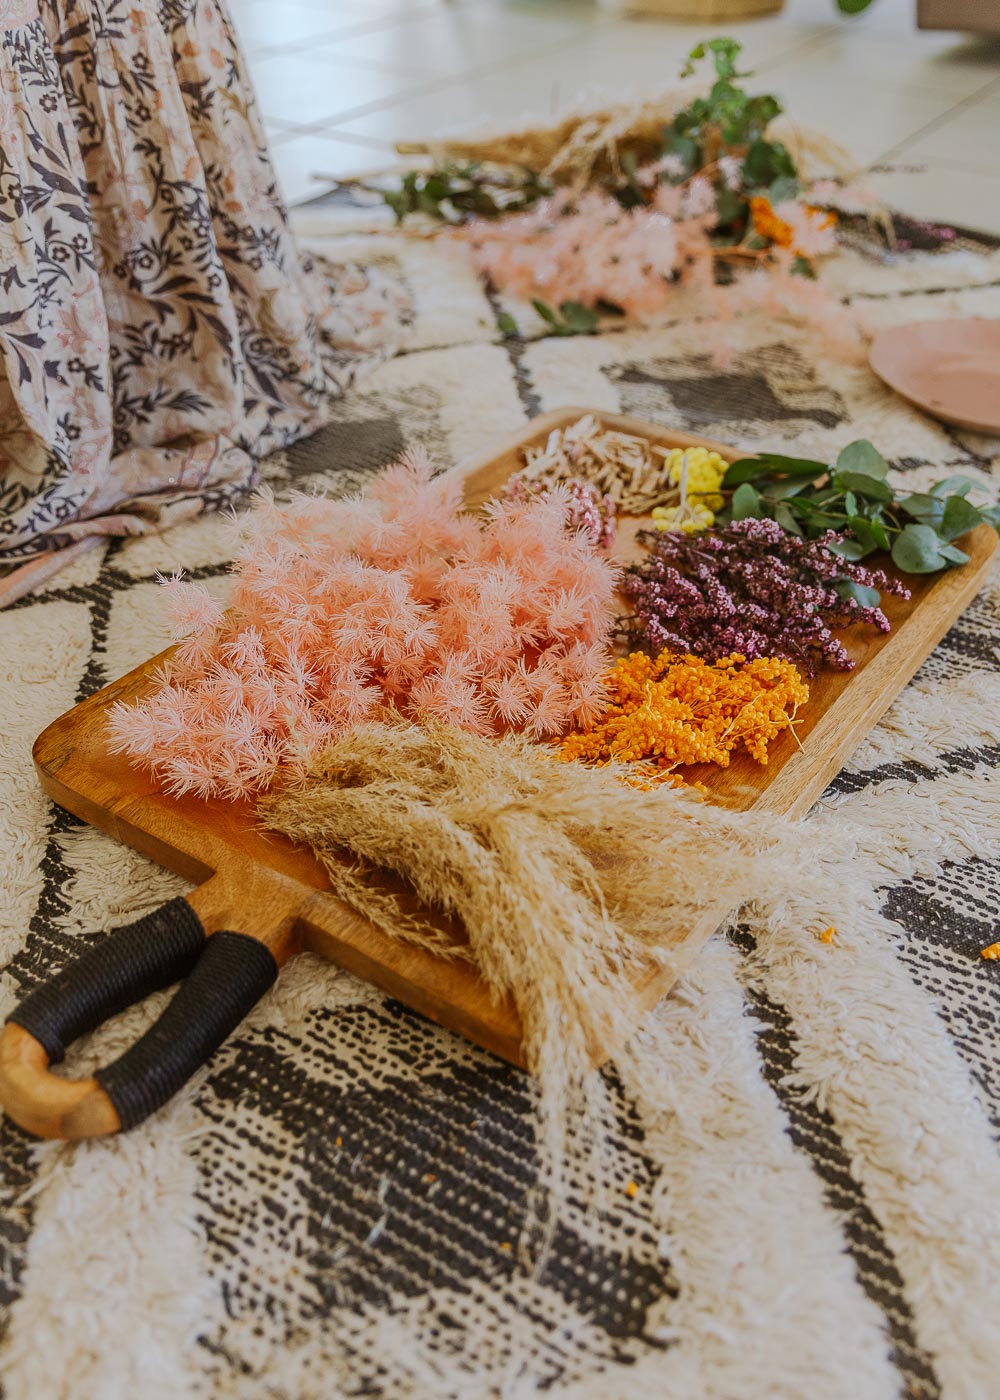
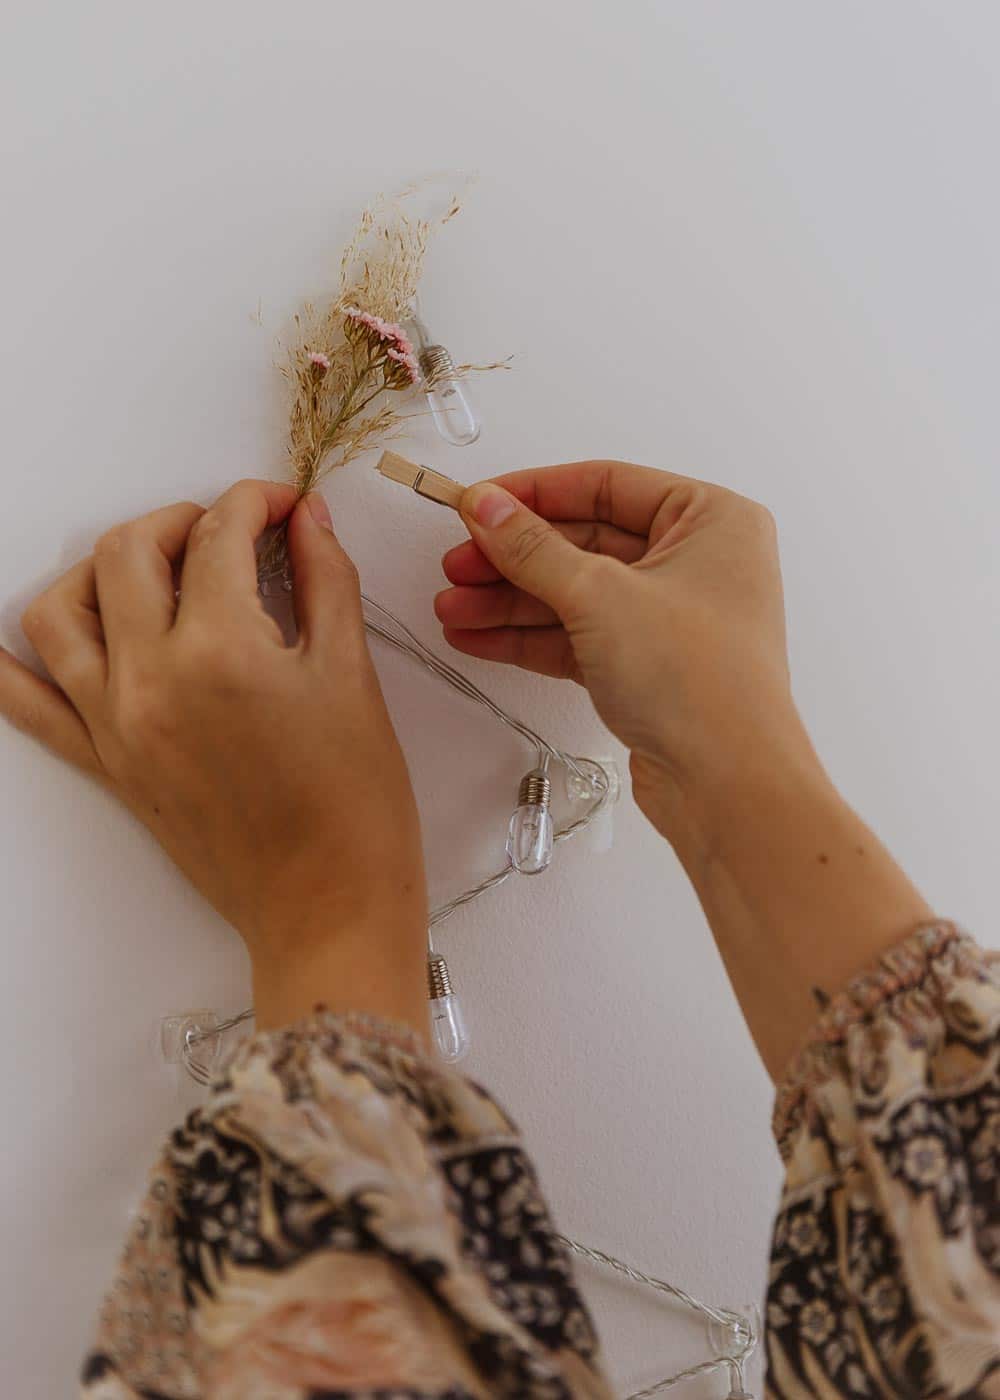
I wanted a pretty pink pastel theme and used some dried flowers I found at a local flower shop. Dry flowers are a great option to decorate because you can customise your colour theme and cut them up in different sizes to suit the tree. I also had some eucalyptus branches that I didn’t end up using that would be perfect for an Australian native bush theme if you want to forage for decorations.
This part took the longest as I added and removed pieces to get the look I wanted. take your time and have fun with this part, the tree will be up for at least a month so you want to love it!


Stick Light DIY
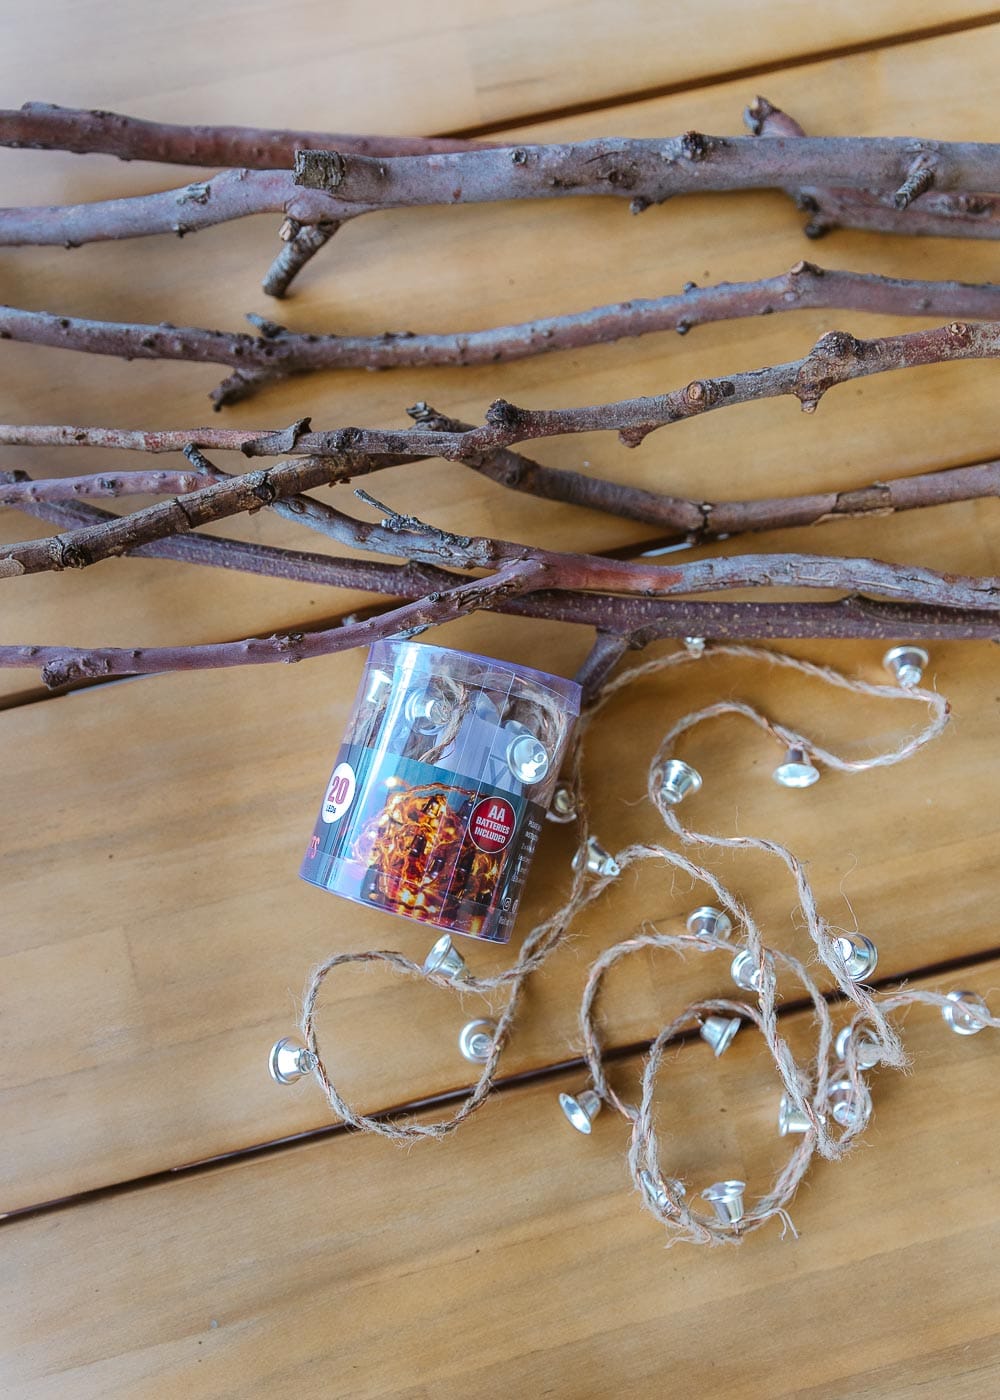
I wanted to create a whole fairy light corner, so these stick lights were the perfect option to fill the corner. These were super easy and they look so lovely all lit up.
I found some sticks of varying lengths at my local park – I did have to explain to Charlie why she couldn’t have them.
I used these lights with flexible wire making it easy to wrap around the branches. Ichose these lights because I like the natural look of the twine and have cute little bells on them, but these ones would also work really well.
Starting from the top wrap the lights around the branches and pop them into a vase or planter – I used an old toilet roll holder!

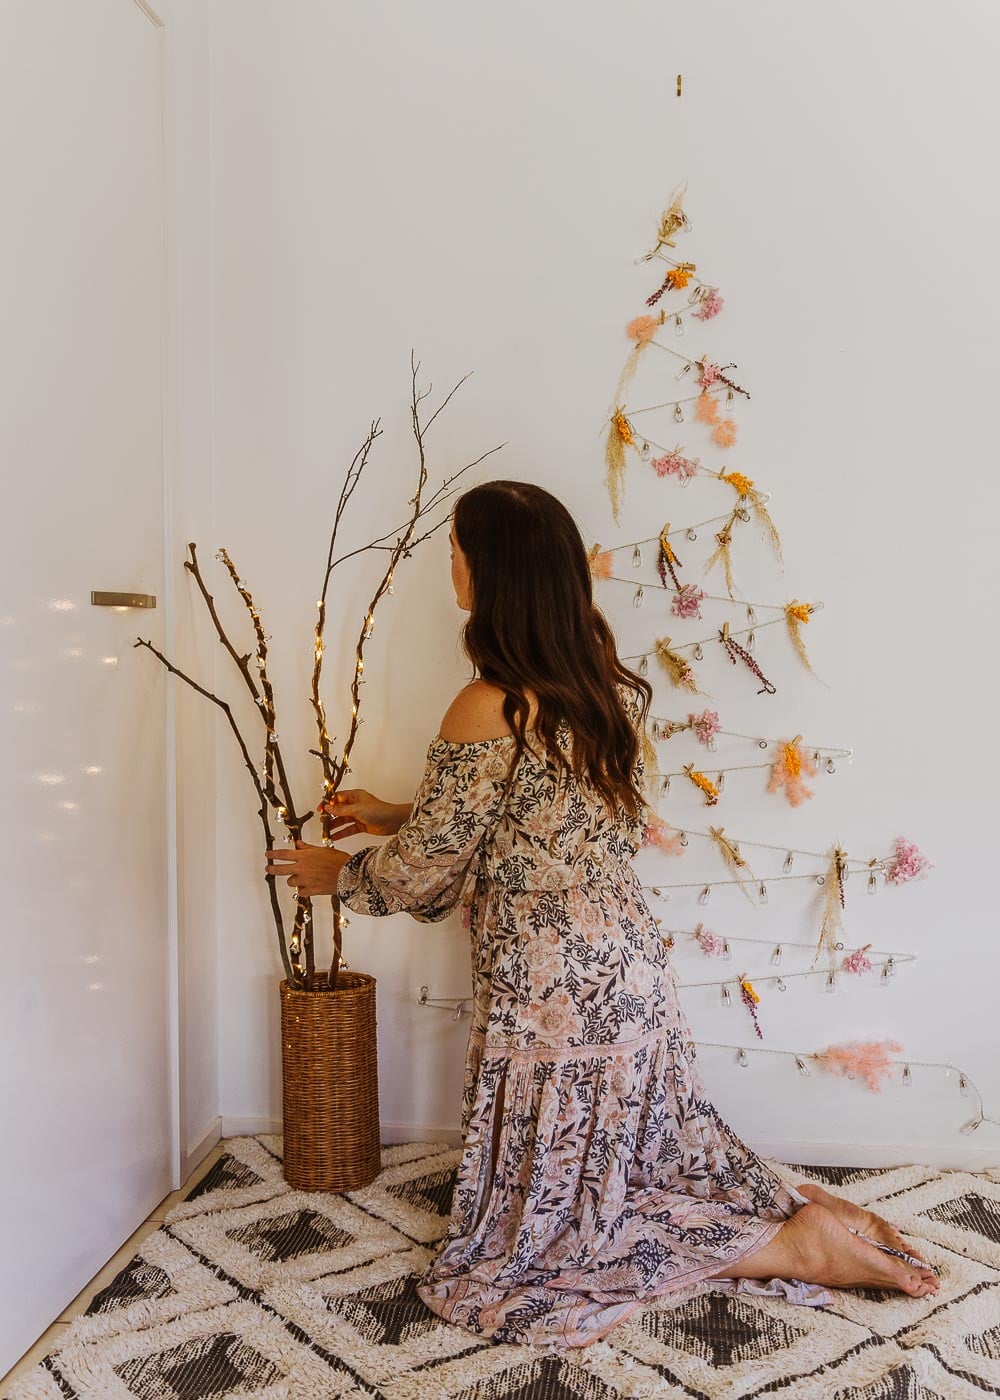
Light up Christmas
Now fill the space with whatever you would like to create a festive corner. I brought these curtain lights which I love, but thought it would be too much for this space so I’ll use this one in another part of the house.
I added a rug, small table and some presents to give it a Christmas feel, plus the little Santa that’s been with us for years. Then I topped it off with the hemp star and lit everything up!
All up it took about an hour to put together, it was very easy and looks so beautiful when all lit up. I think this tree will be staying up for a few months past Christmas!
